

Komga Setup – Complete Walkthrough
Request access first. Then pick how you want to read (web, iOS, Mac).
Step 1: Submit Access Request
- Enter your desired Username.
- Enter your Email Address.
- Create a Password that meets the listed requirements.
- Select Komga (Comics & Manga).
- Submit the form and wait for confirmation.
Step 2: Choose Your App
Open a section below. Expanding one will push the others down.
Komga Web App (Recommended)
Fastest setup. Works on anything with a browser.
Web Login
- Go to
https://read.thedeepzone.app - Enter your Email and Password.
- Click Sign In.
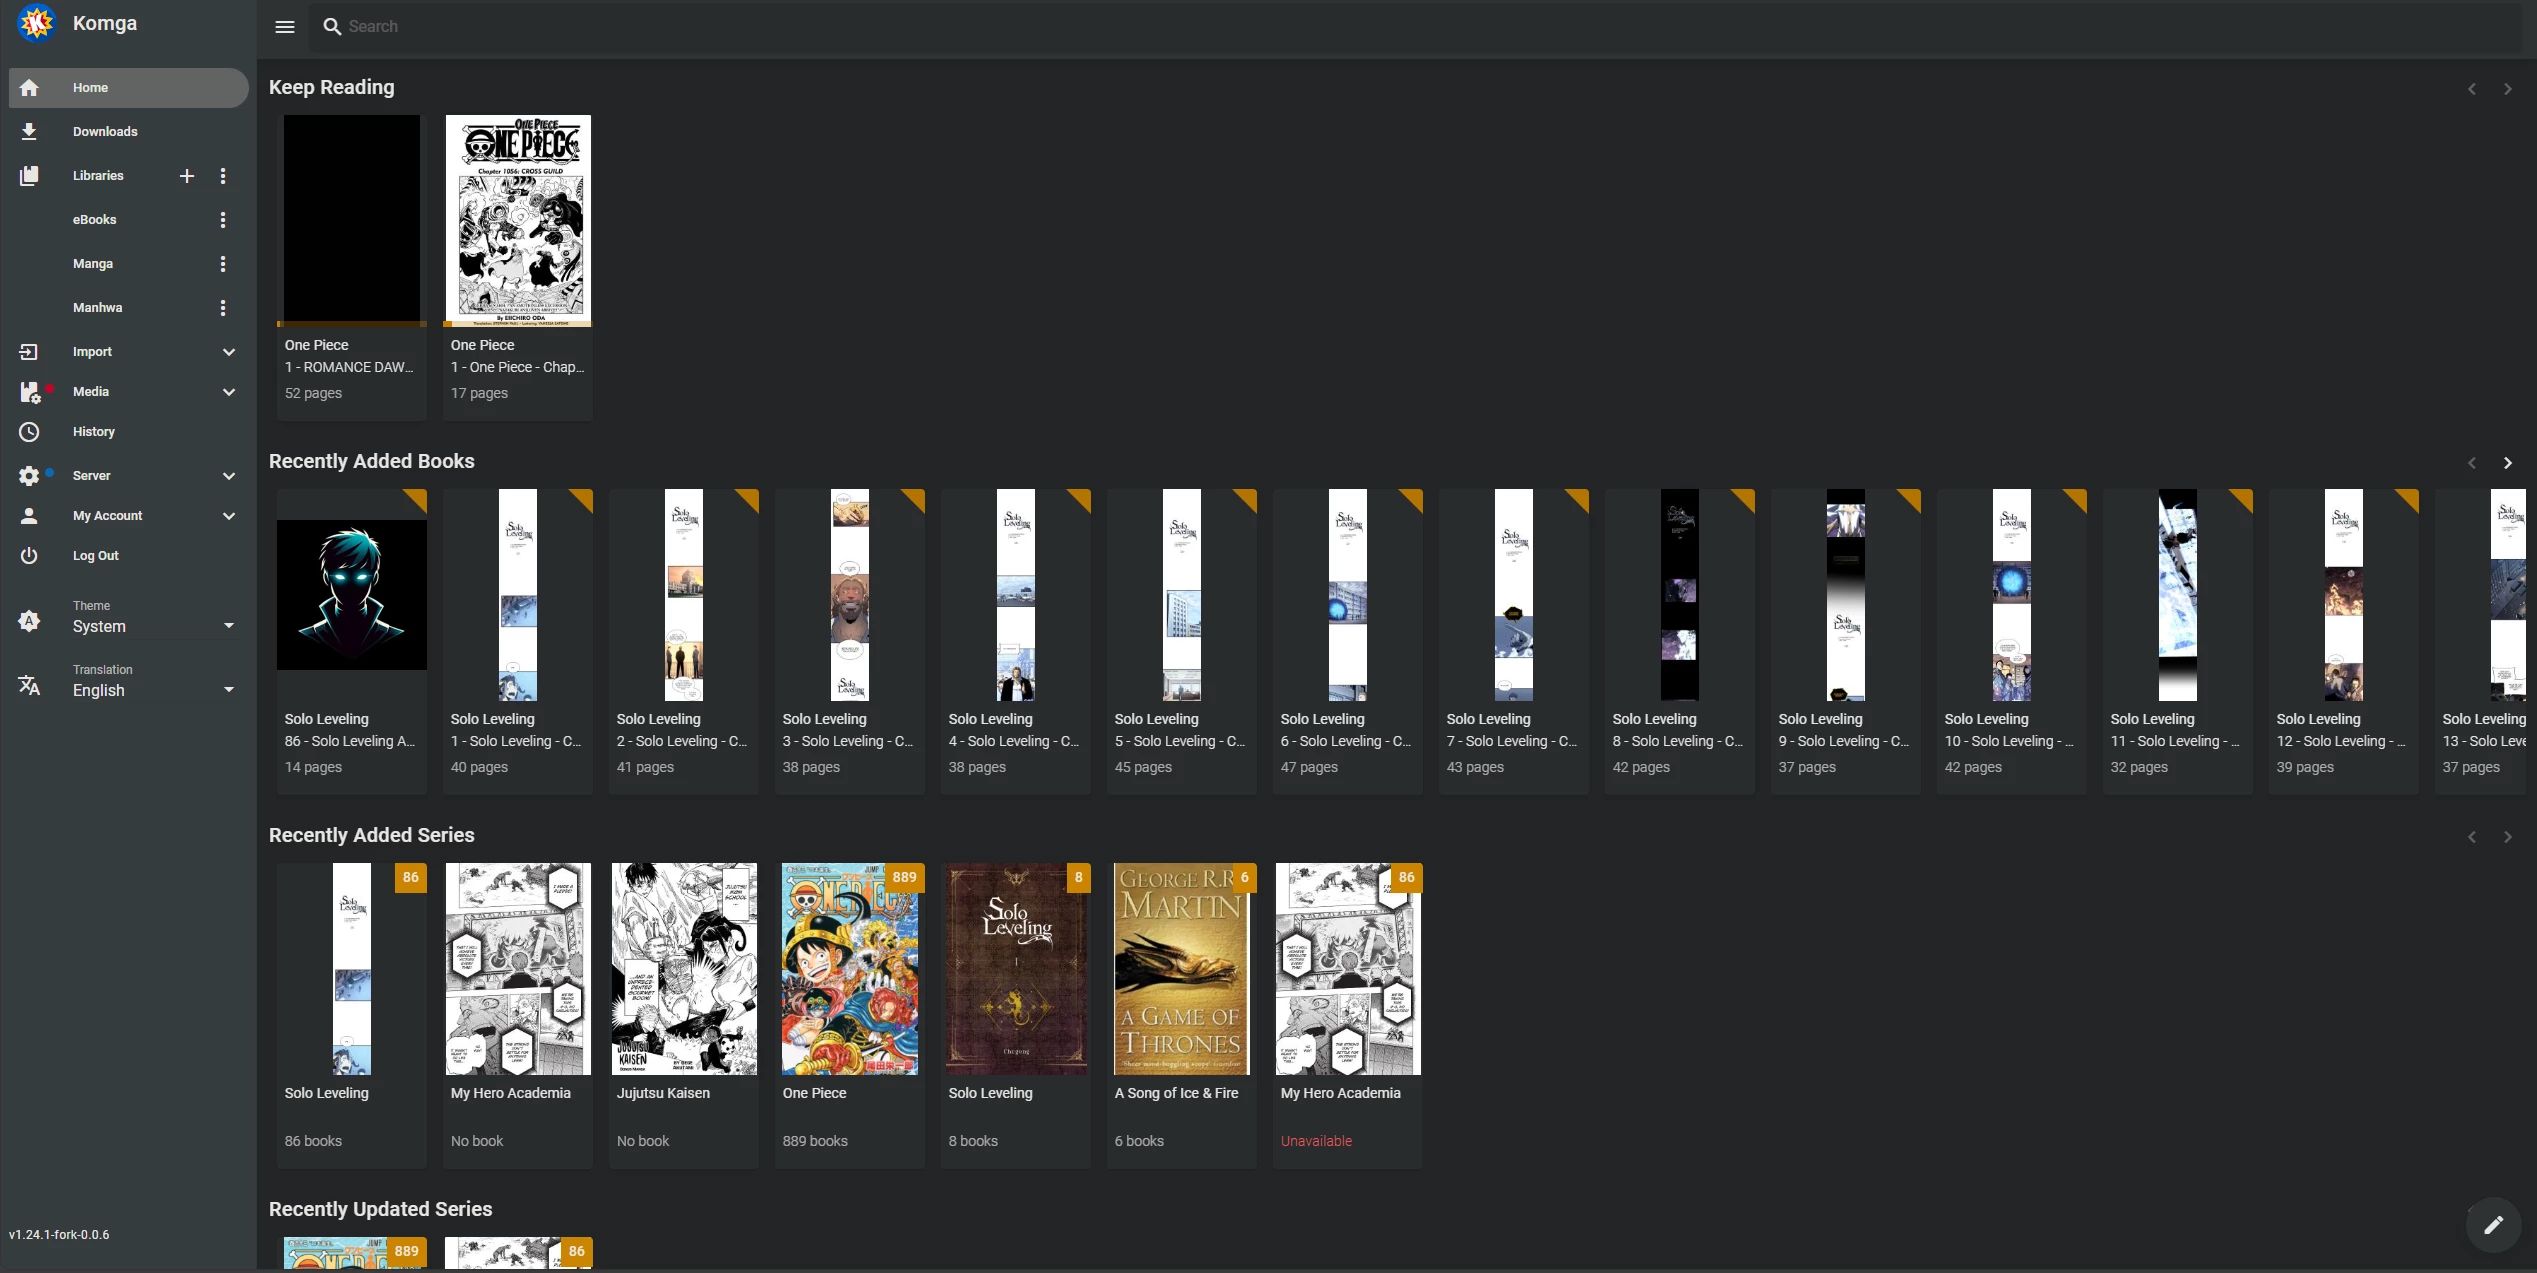
If you see your libraries and “Keep Reading”, you’re in.
Paperback (Recommended, iOS Only)
Paperback is the best iOS client for Komga. Setup is a tiny ritual: add the source repo, install the Komga source,
then point it at read.thedeepzone.app.
Part A: Install the Komga Source
You’ll add the Default Extensions repository, then install the Paperback (self-hosted) source.
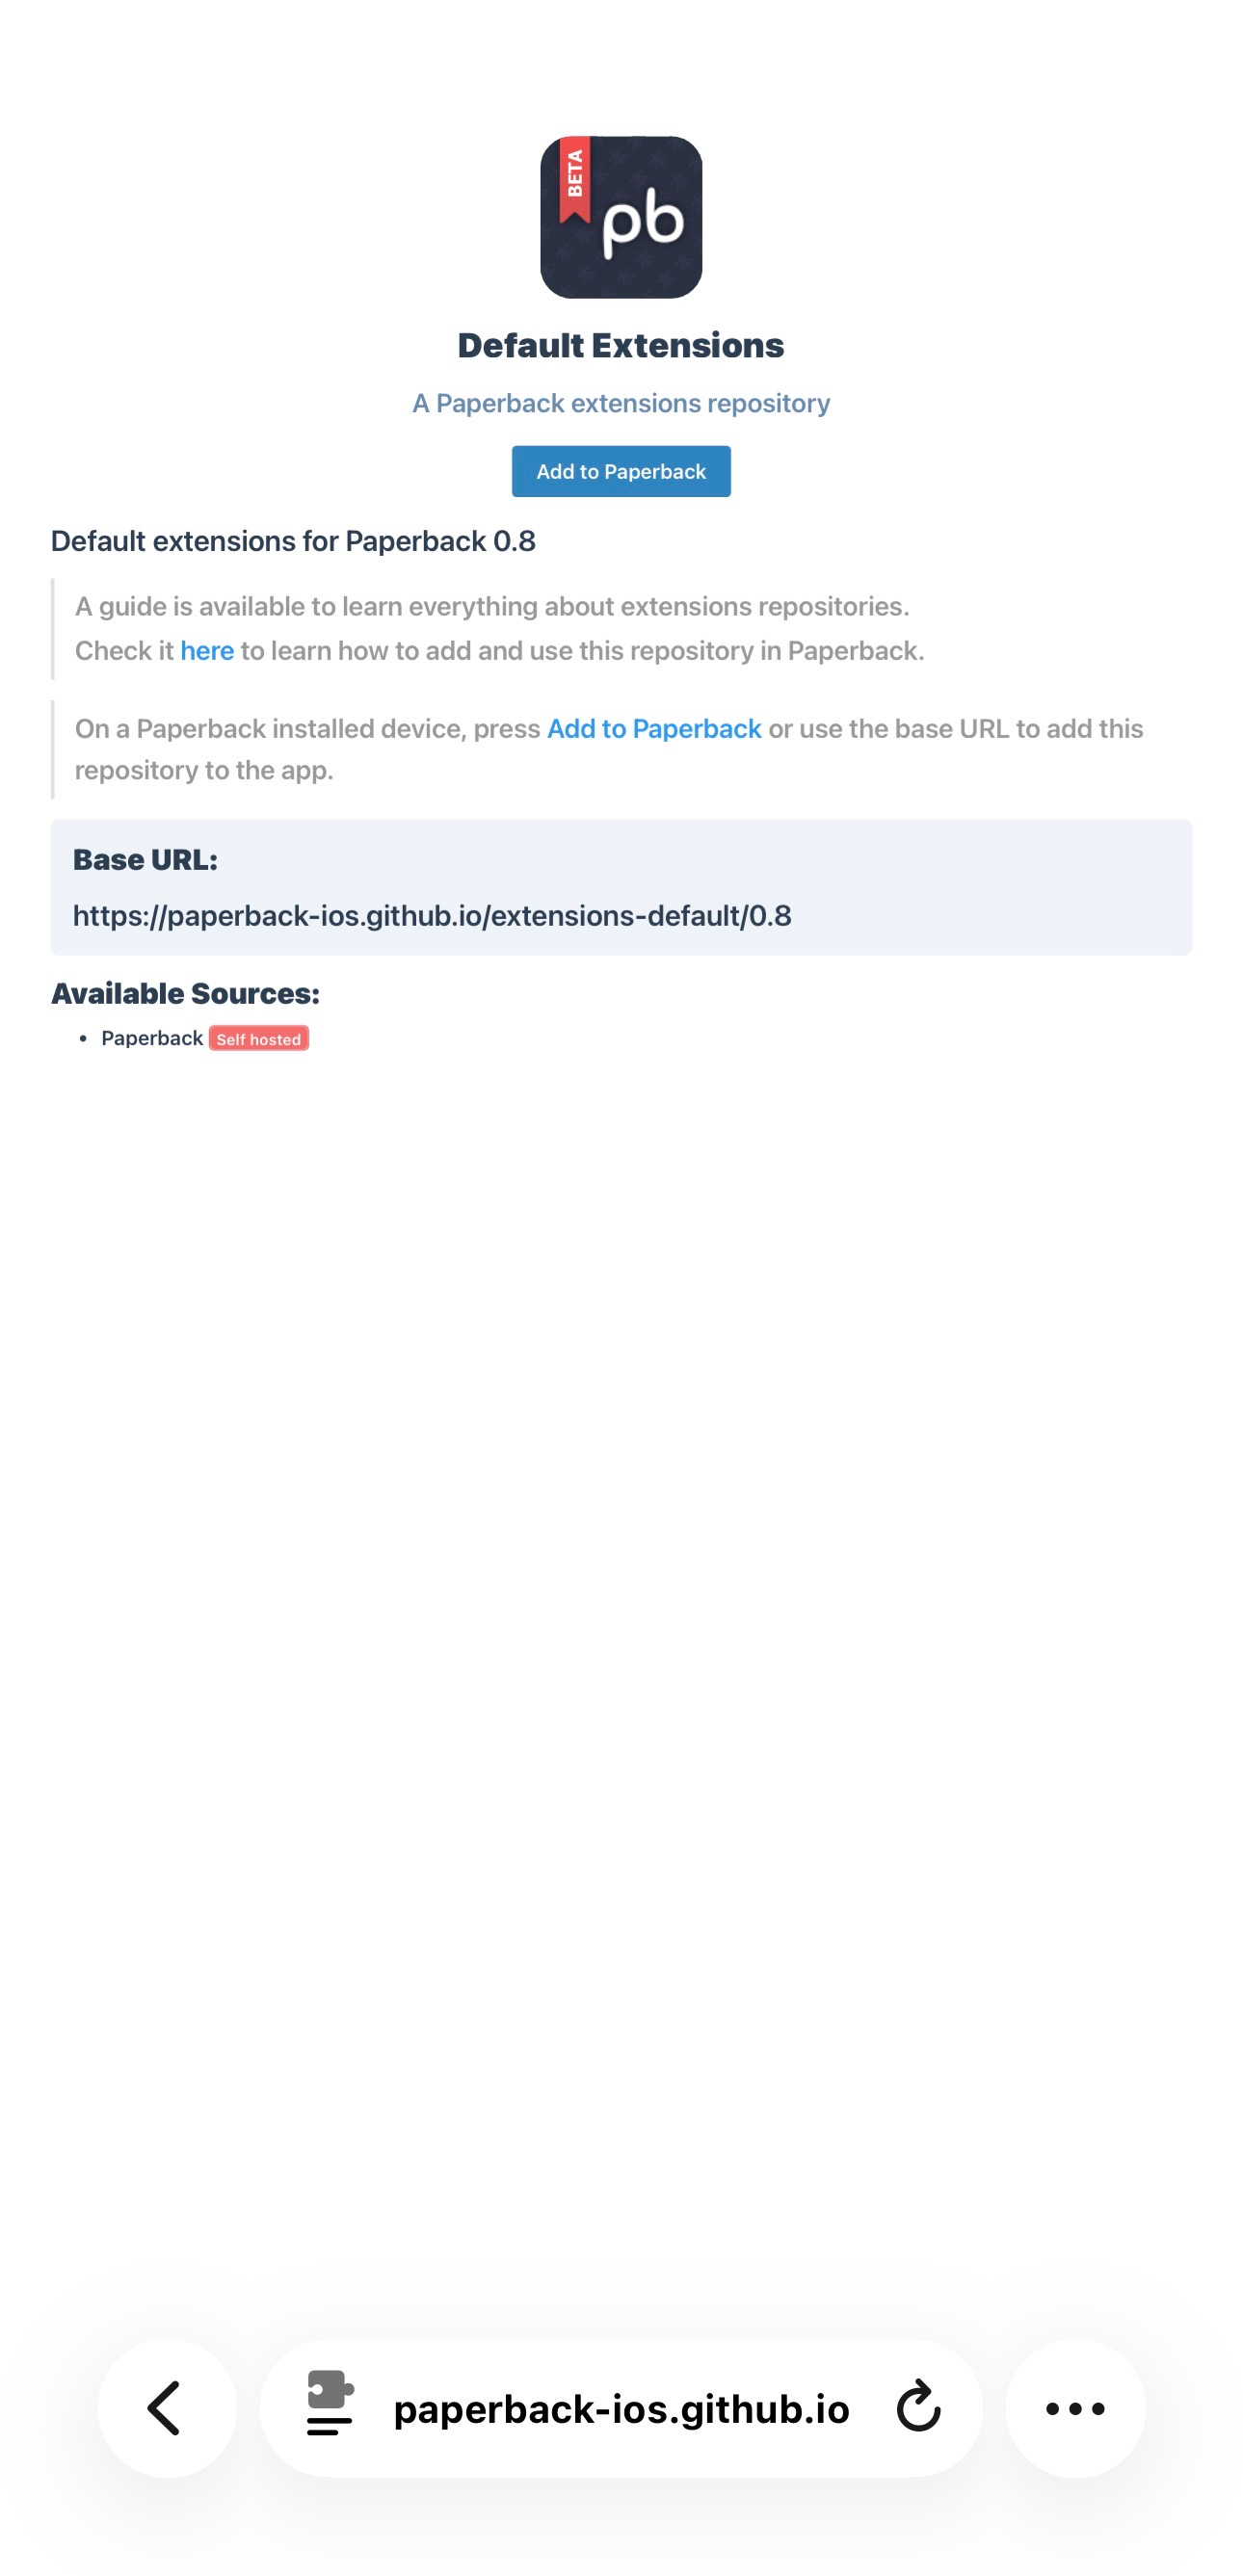
- Open the Default Extensions page (button above).
- Tap Add to Paperback (or copy the Base URL).
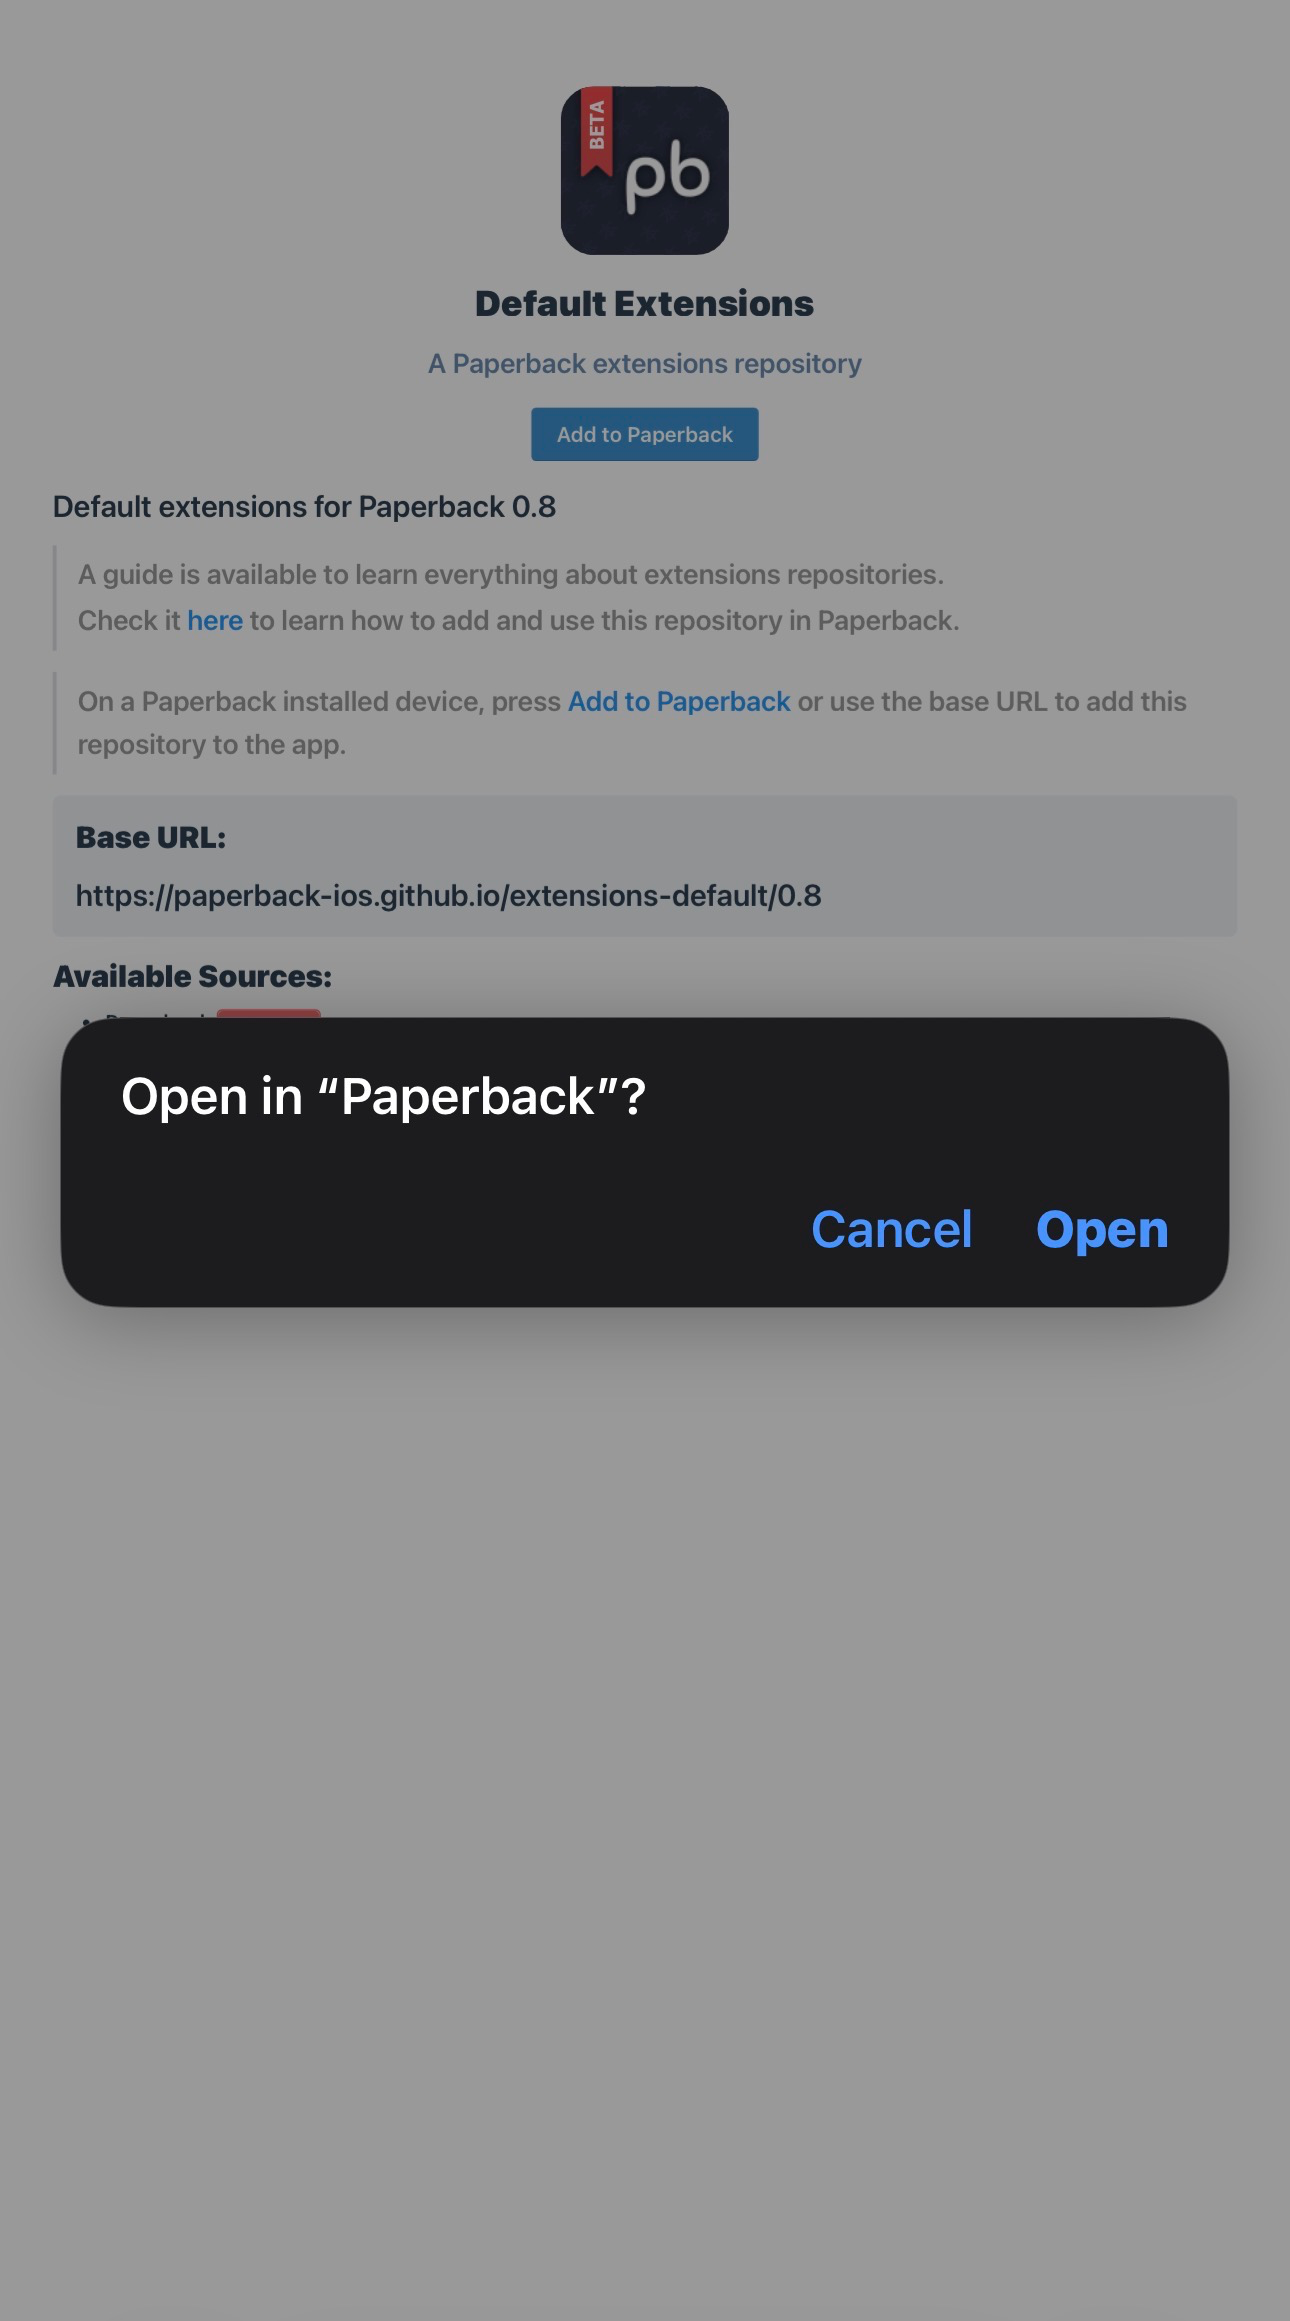
- When prompted, tap Open.
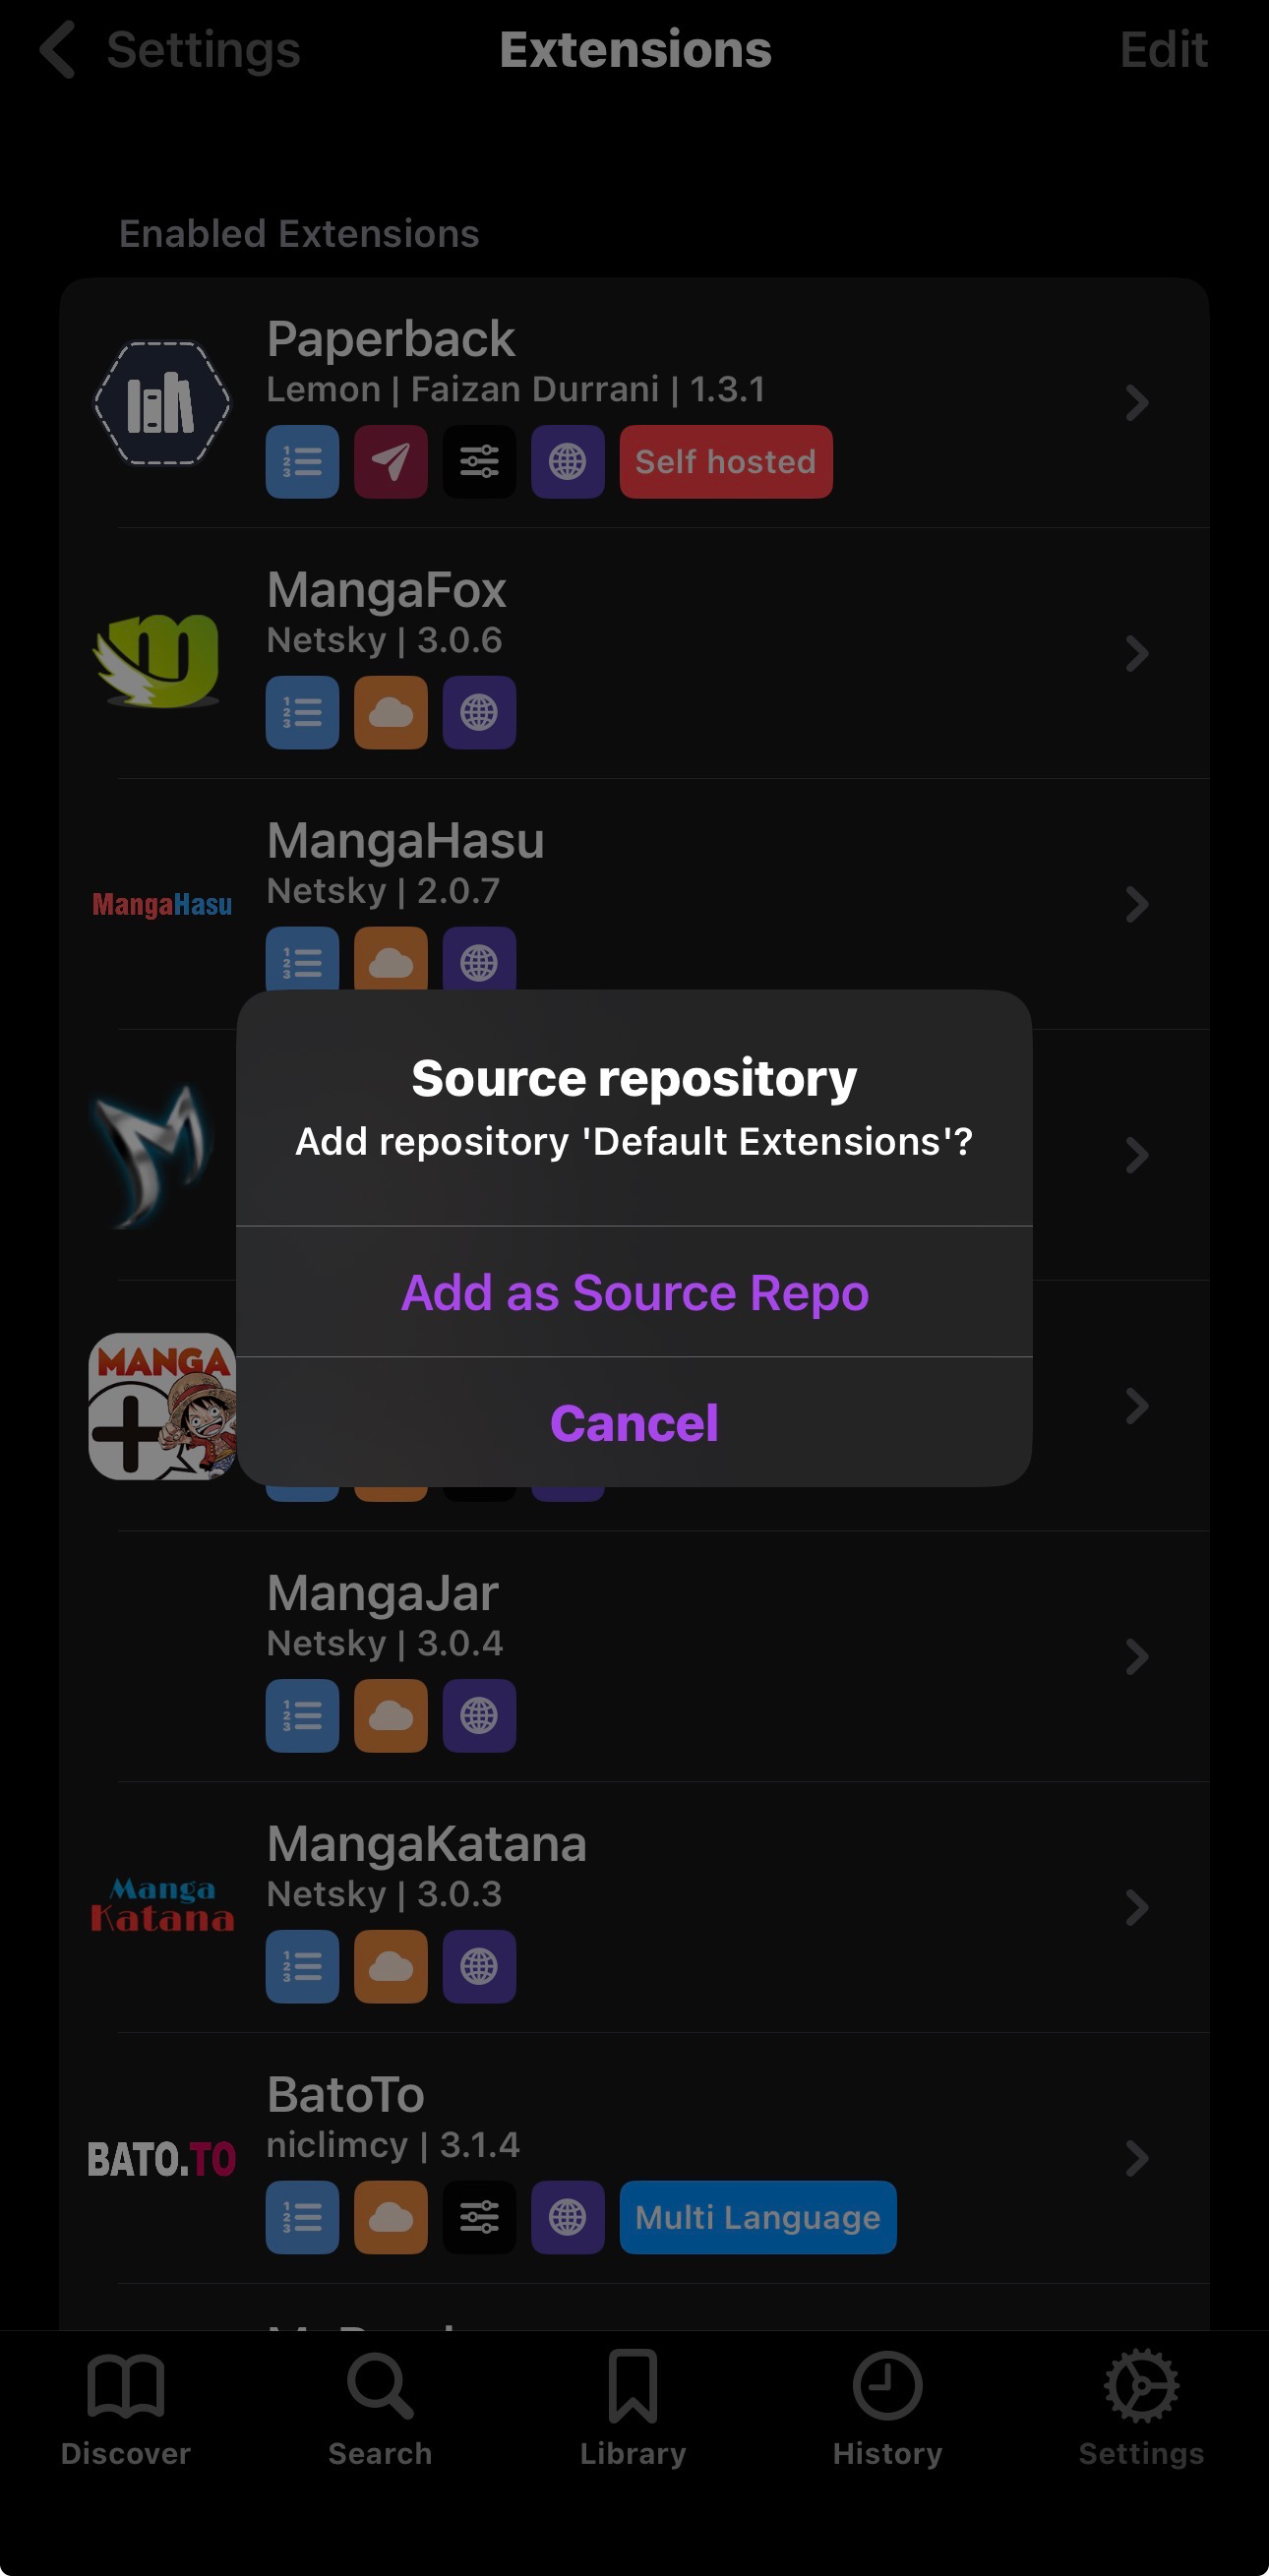
- Tap Add as Source Repo.
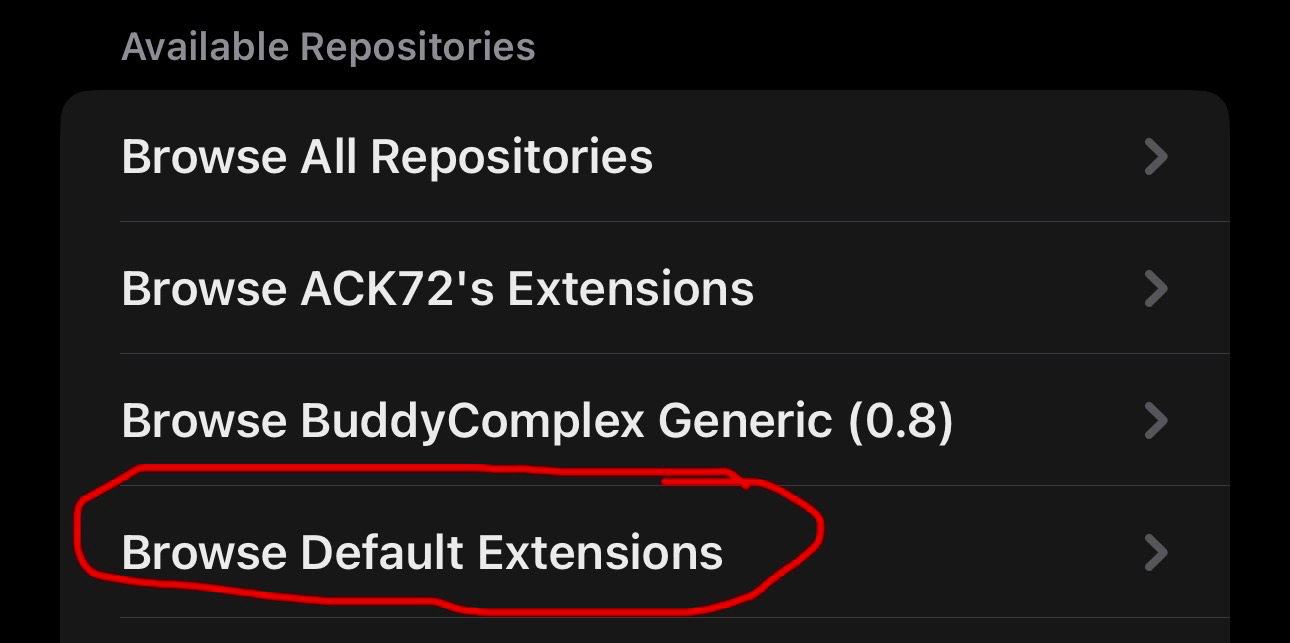
- In Paperback, go to Settings → Extensions.
- Choose Browse Default Extensions.
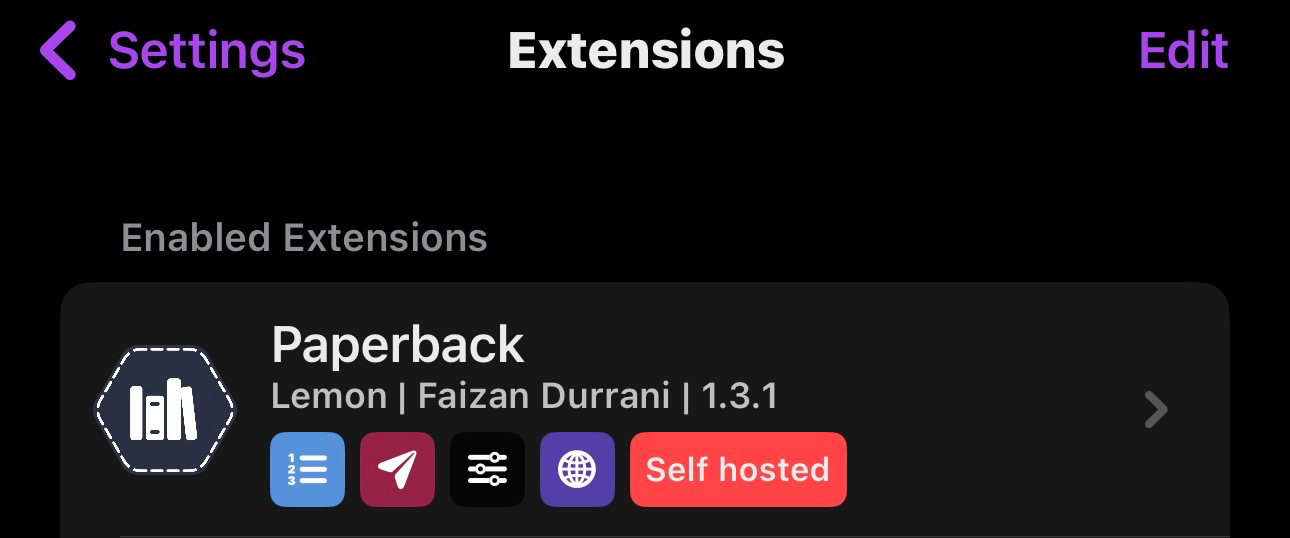
- Install the Paperback source (it will show as Self hosted).
- Tap the Paperback source to open its settings.
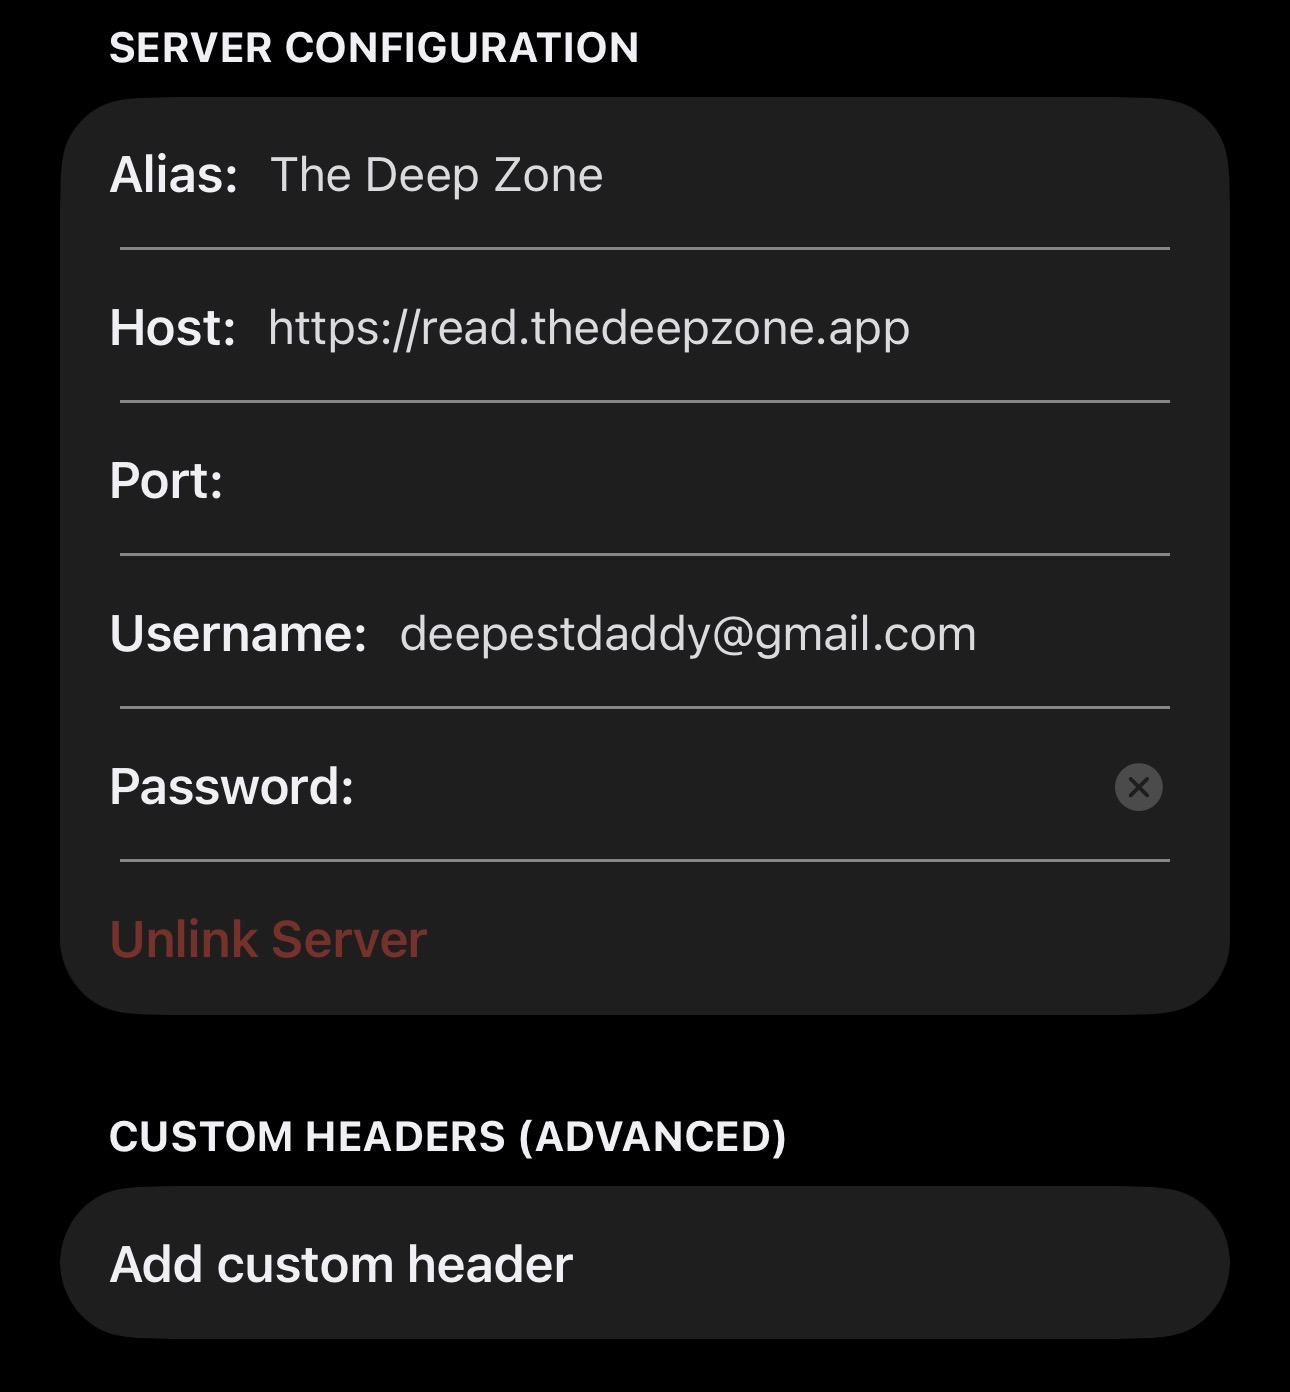
Part B: Configure Server Settings
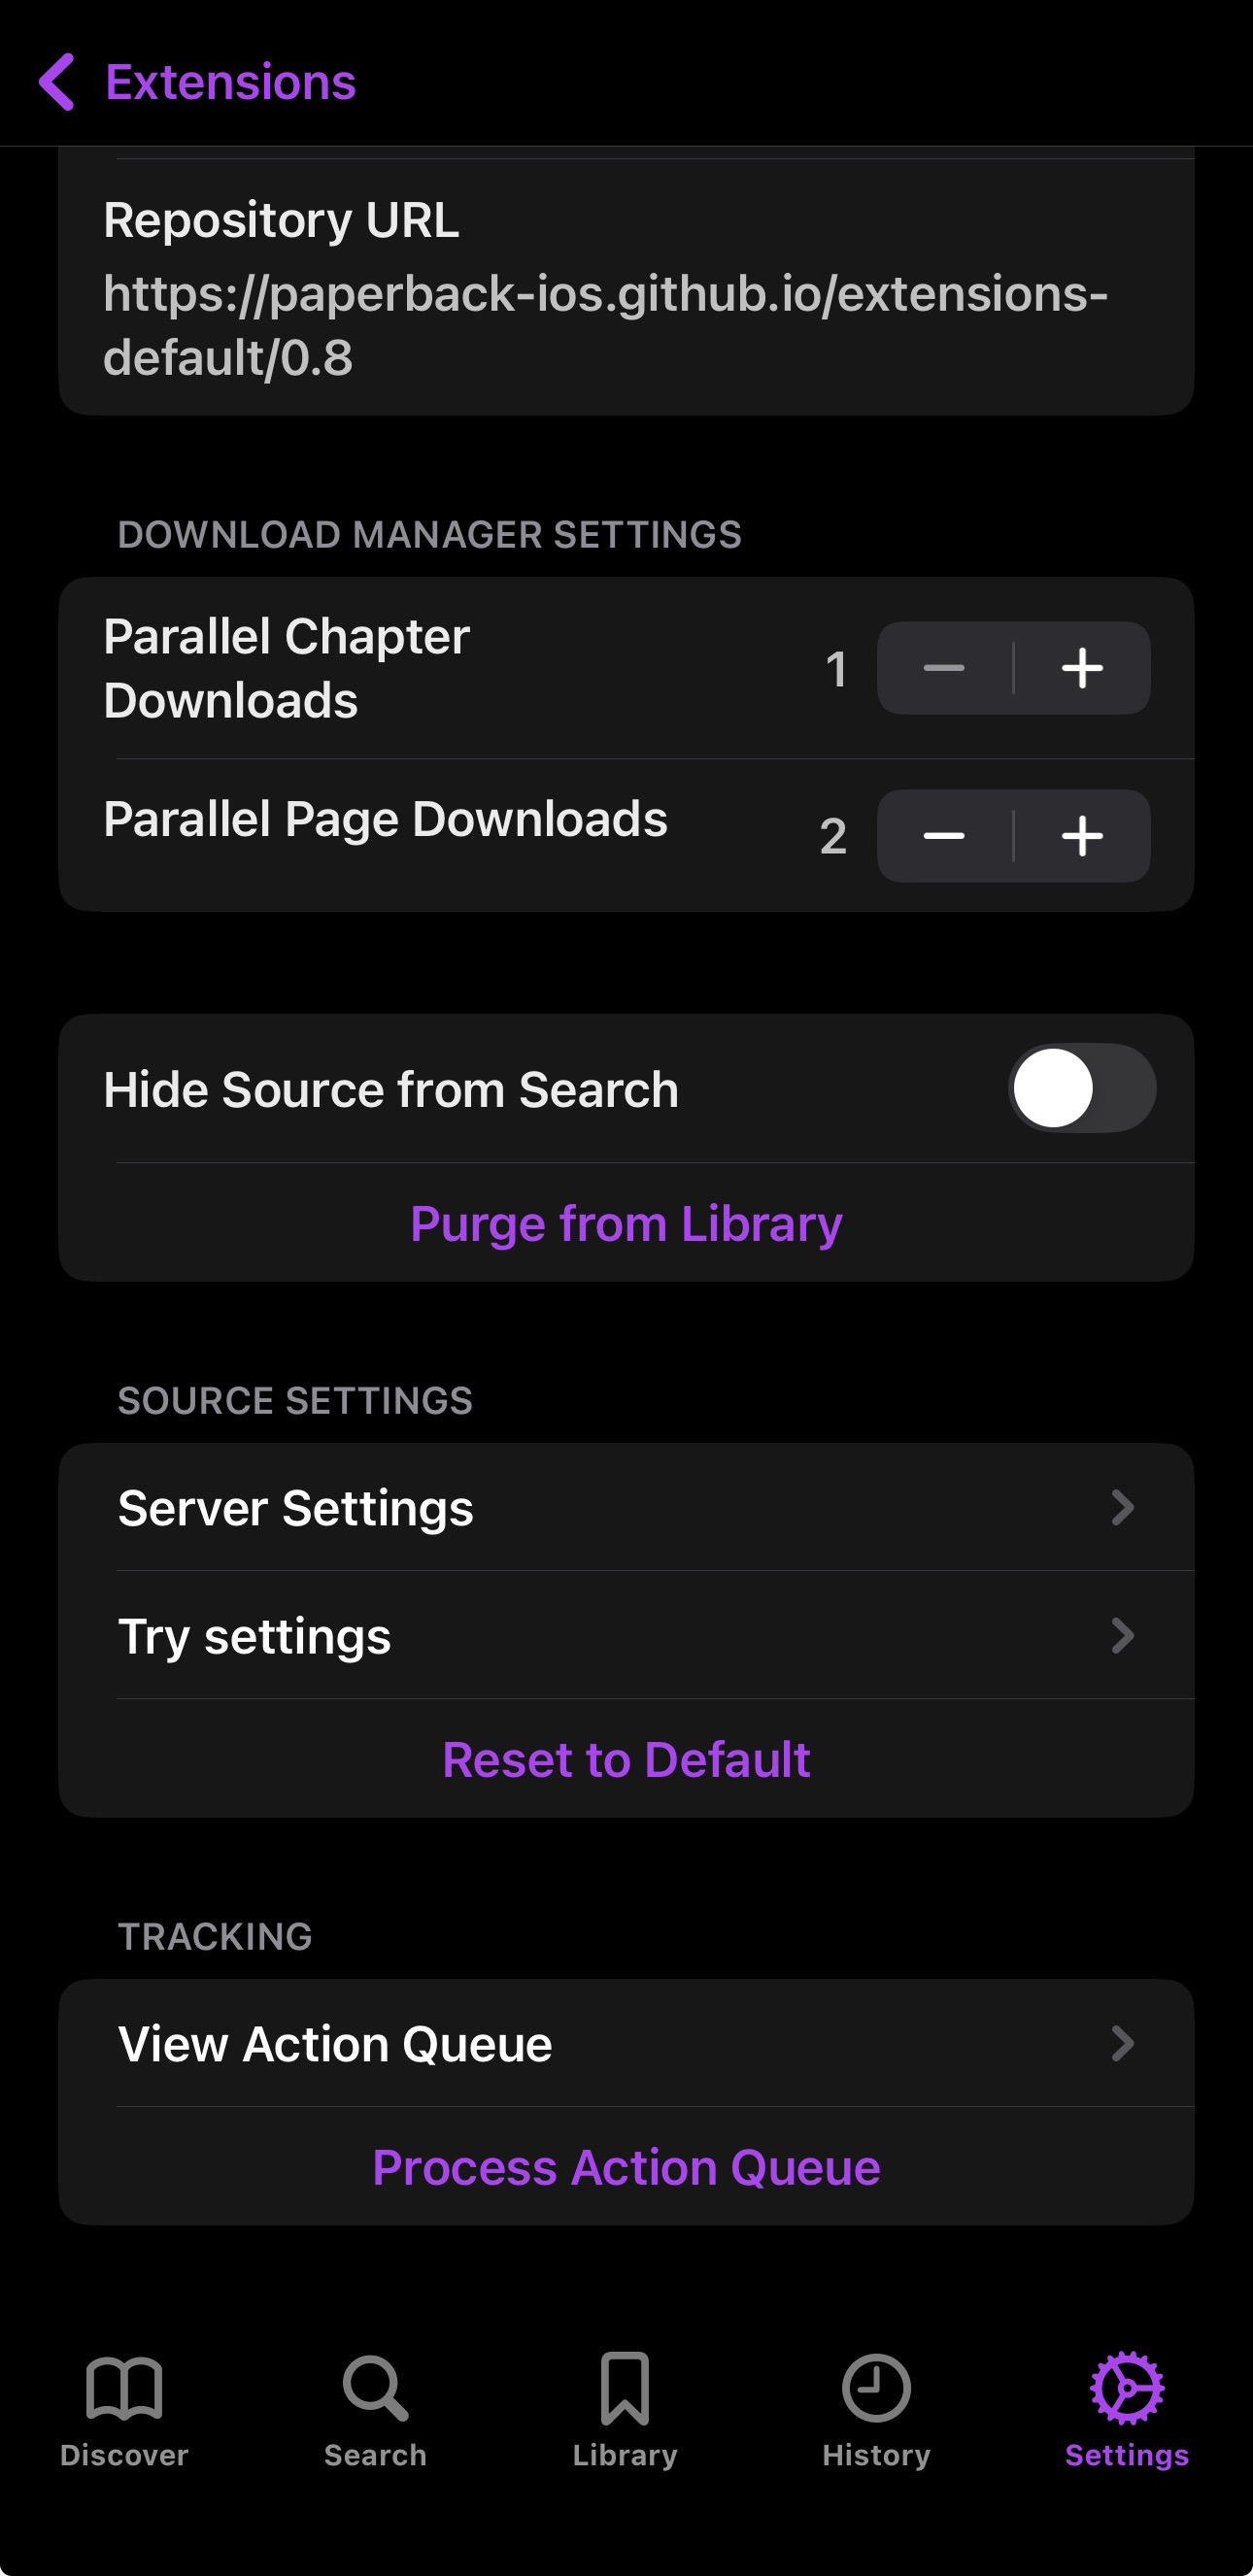
- In the Paperback source settings, choose Server Settings.
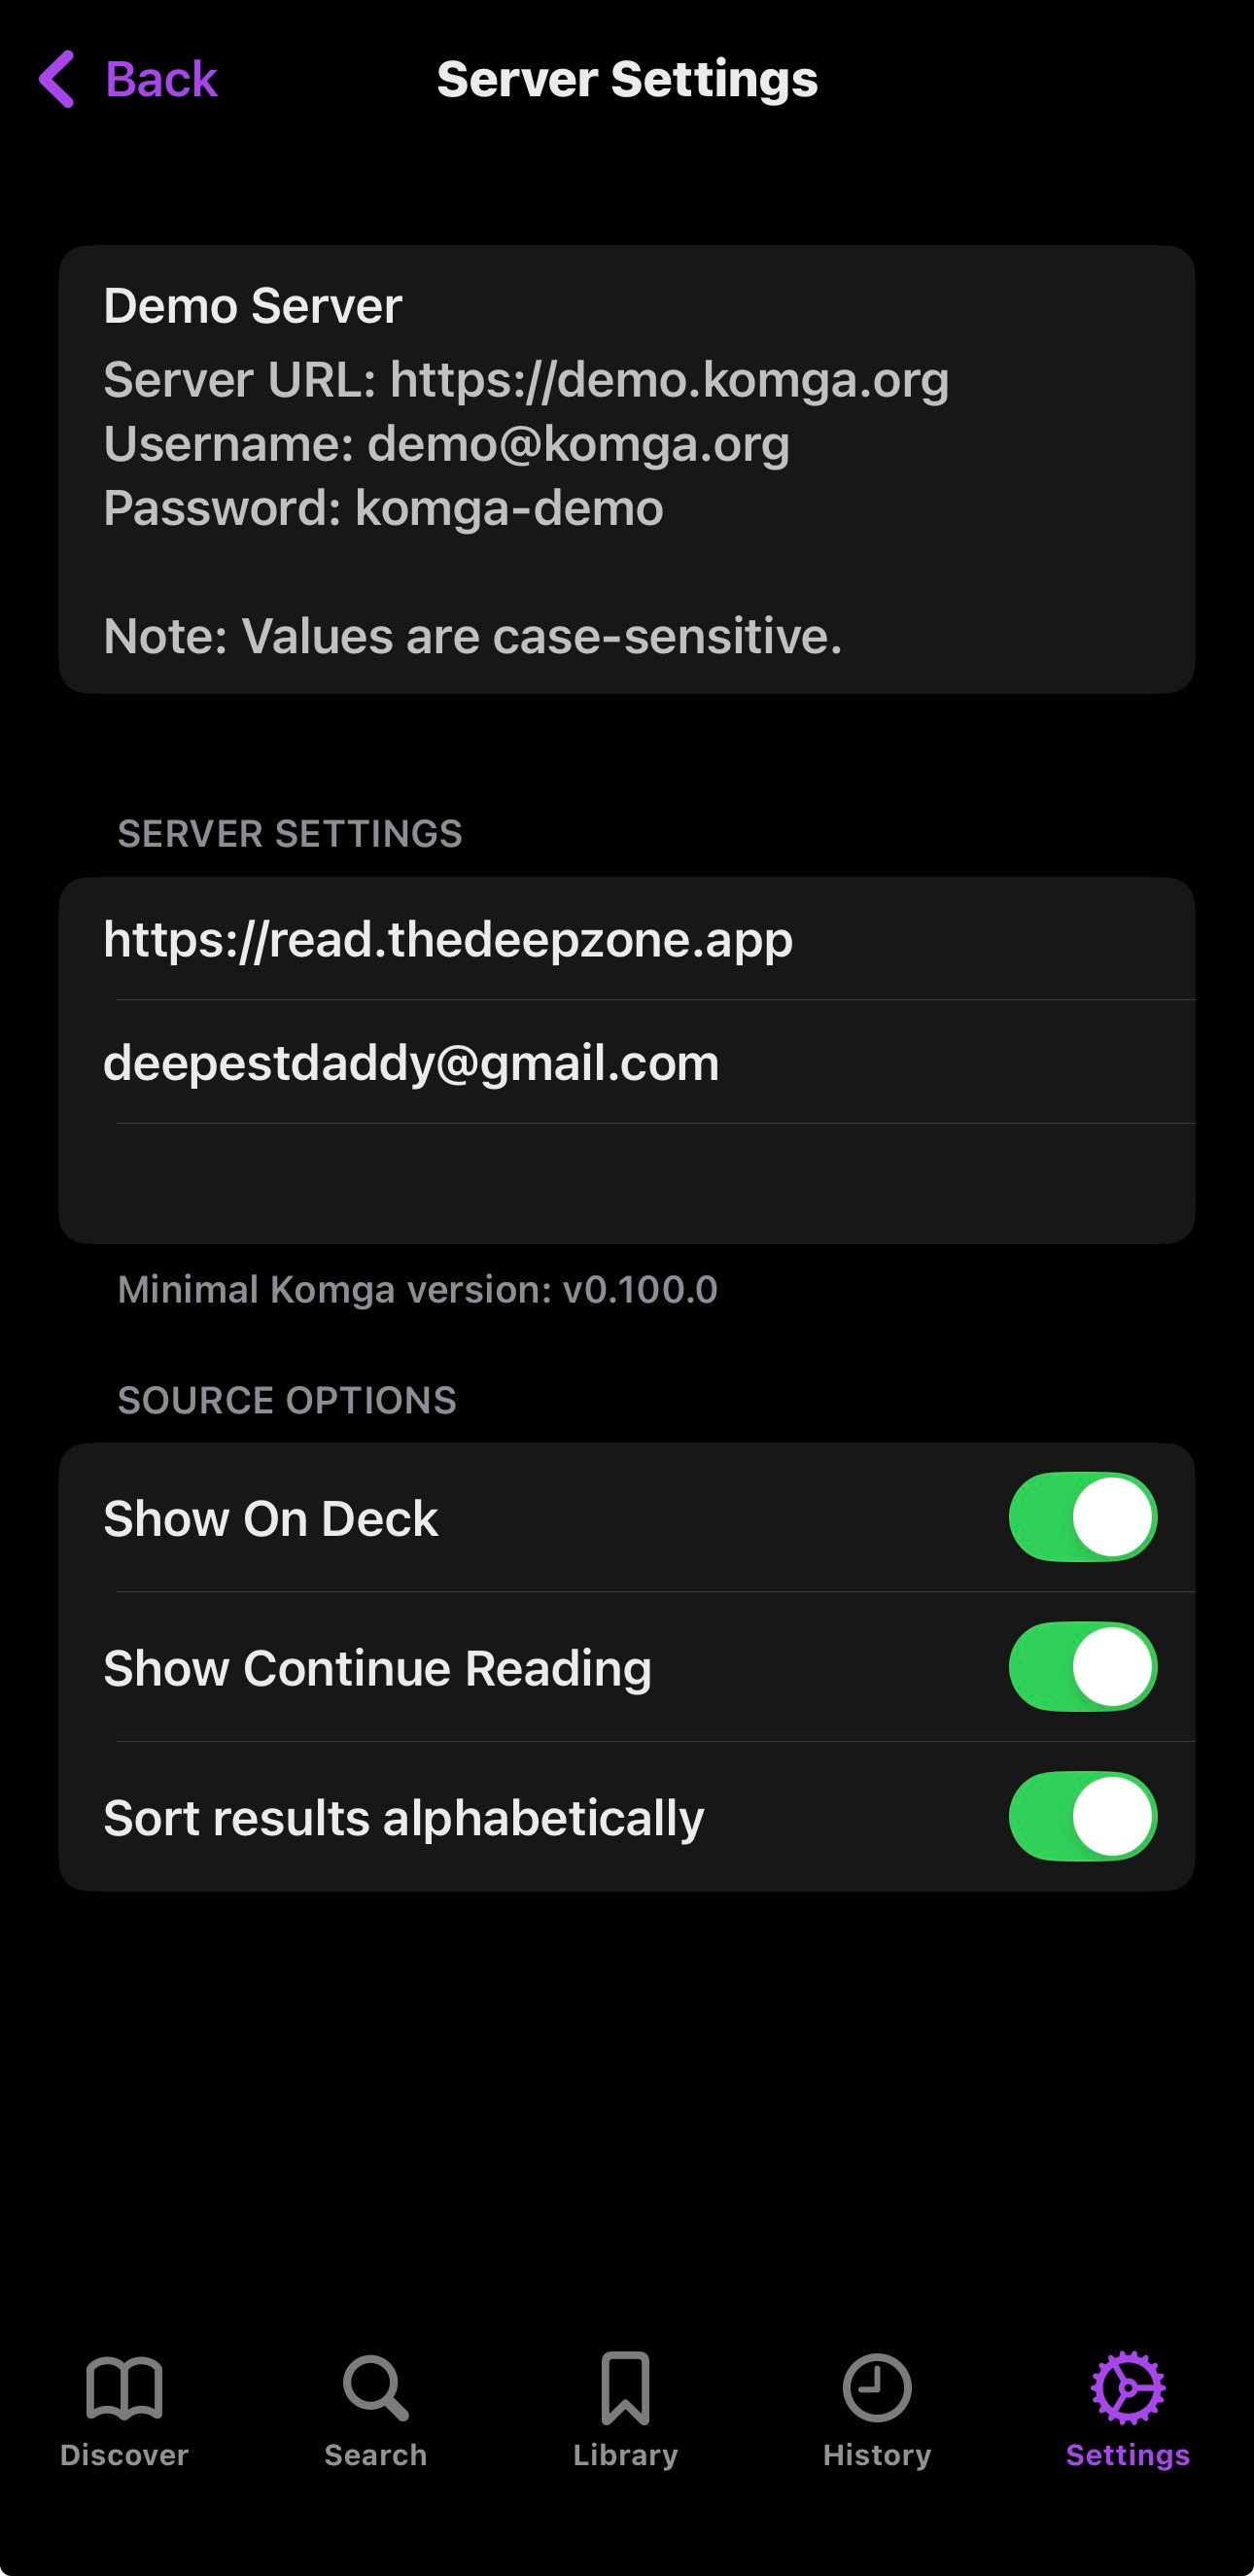
- Set Server URL:
https://read.thedeepzone.app - Enter your Username and Password.
- Press Save to exit.
Optional: Track Read Progress (Sync Read Chapters to Komga)
Paperback can sync read chapters back to Komga using an implicit tracker.
Add the Tracker Repository
- In Paperback, go to Settings → External Trackers.
- Press Edit (top right).
- Press the + button (top left) to add a repository.
- Use this Base URL (do not open it in a browser):
https://paperback-ios.github.io/trackers-main/main/
Install the Tracker
- Go back to External Trackers.
- Choose Browse ... for the repository you just added.
- Install the tracker Paperback.
Now when you read (or mark as read) a chapter in Paperback, it will also be marked as read on your Komga server.
Panels (iOS, Mac) PAID ONLY
Panels supports Komga via OPDS (this requires a Panels subscription). You’ll walk through the setup flow, choose OPDS, then enter your Deep Zone credentials.
Note: Panels requires a monthly, yearly, or lifetime license. The Lifetime License only works for the current version until the next major release. I'll also mention that it doesn't have the ability to change swipe direction from Native US.
Connect Panels to Komga (OPDS)
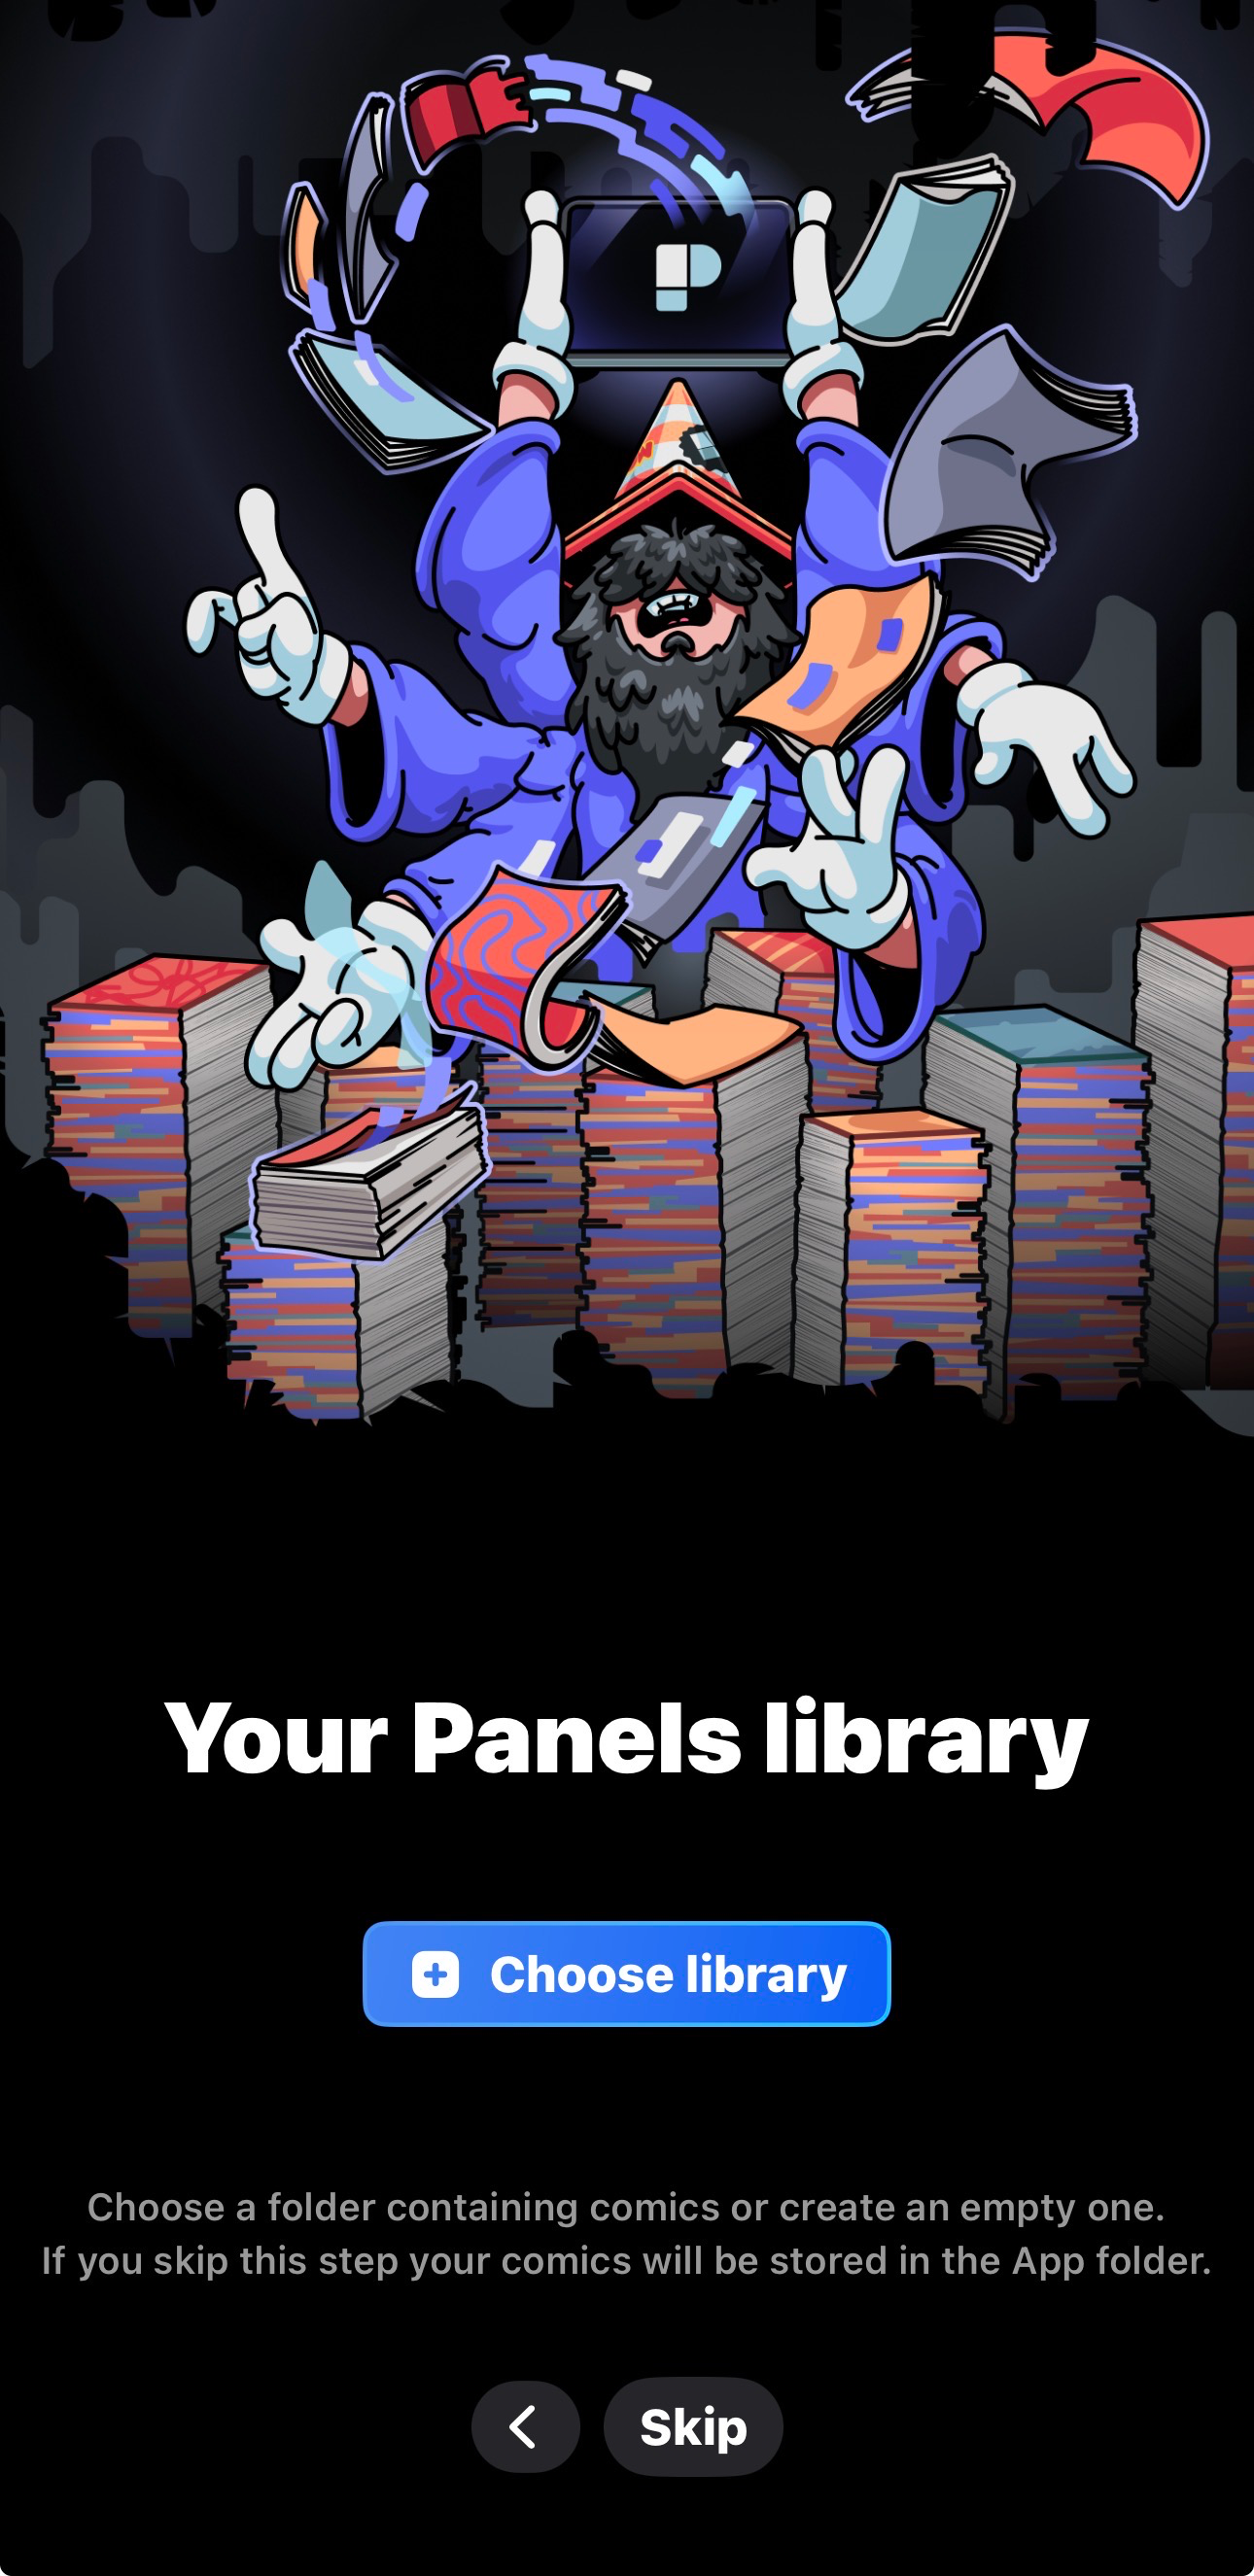
- Open Panels and go through the initial setup prompts.
- Continue until you reach the import/source selection screen.
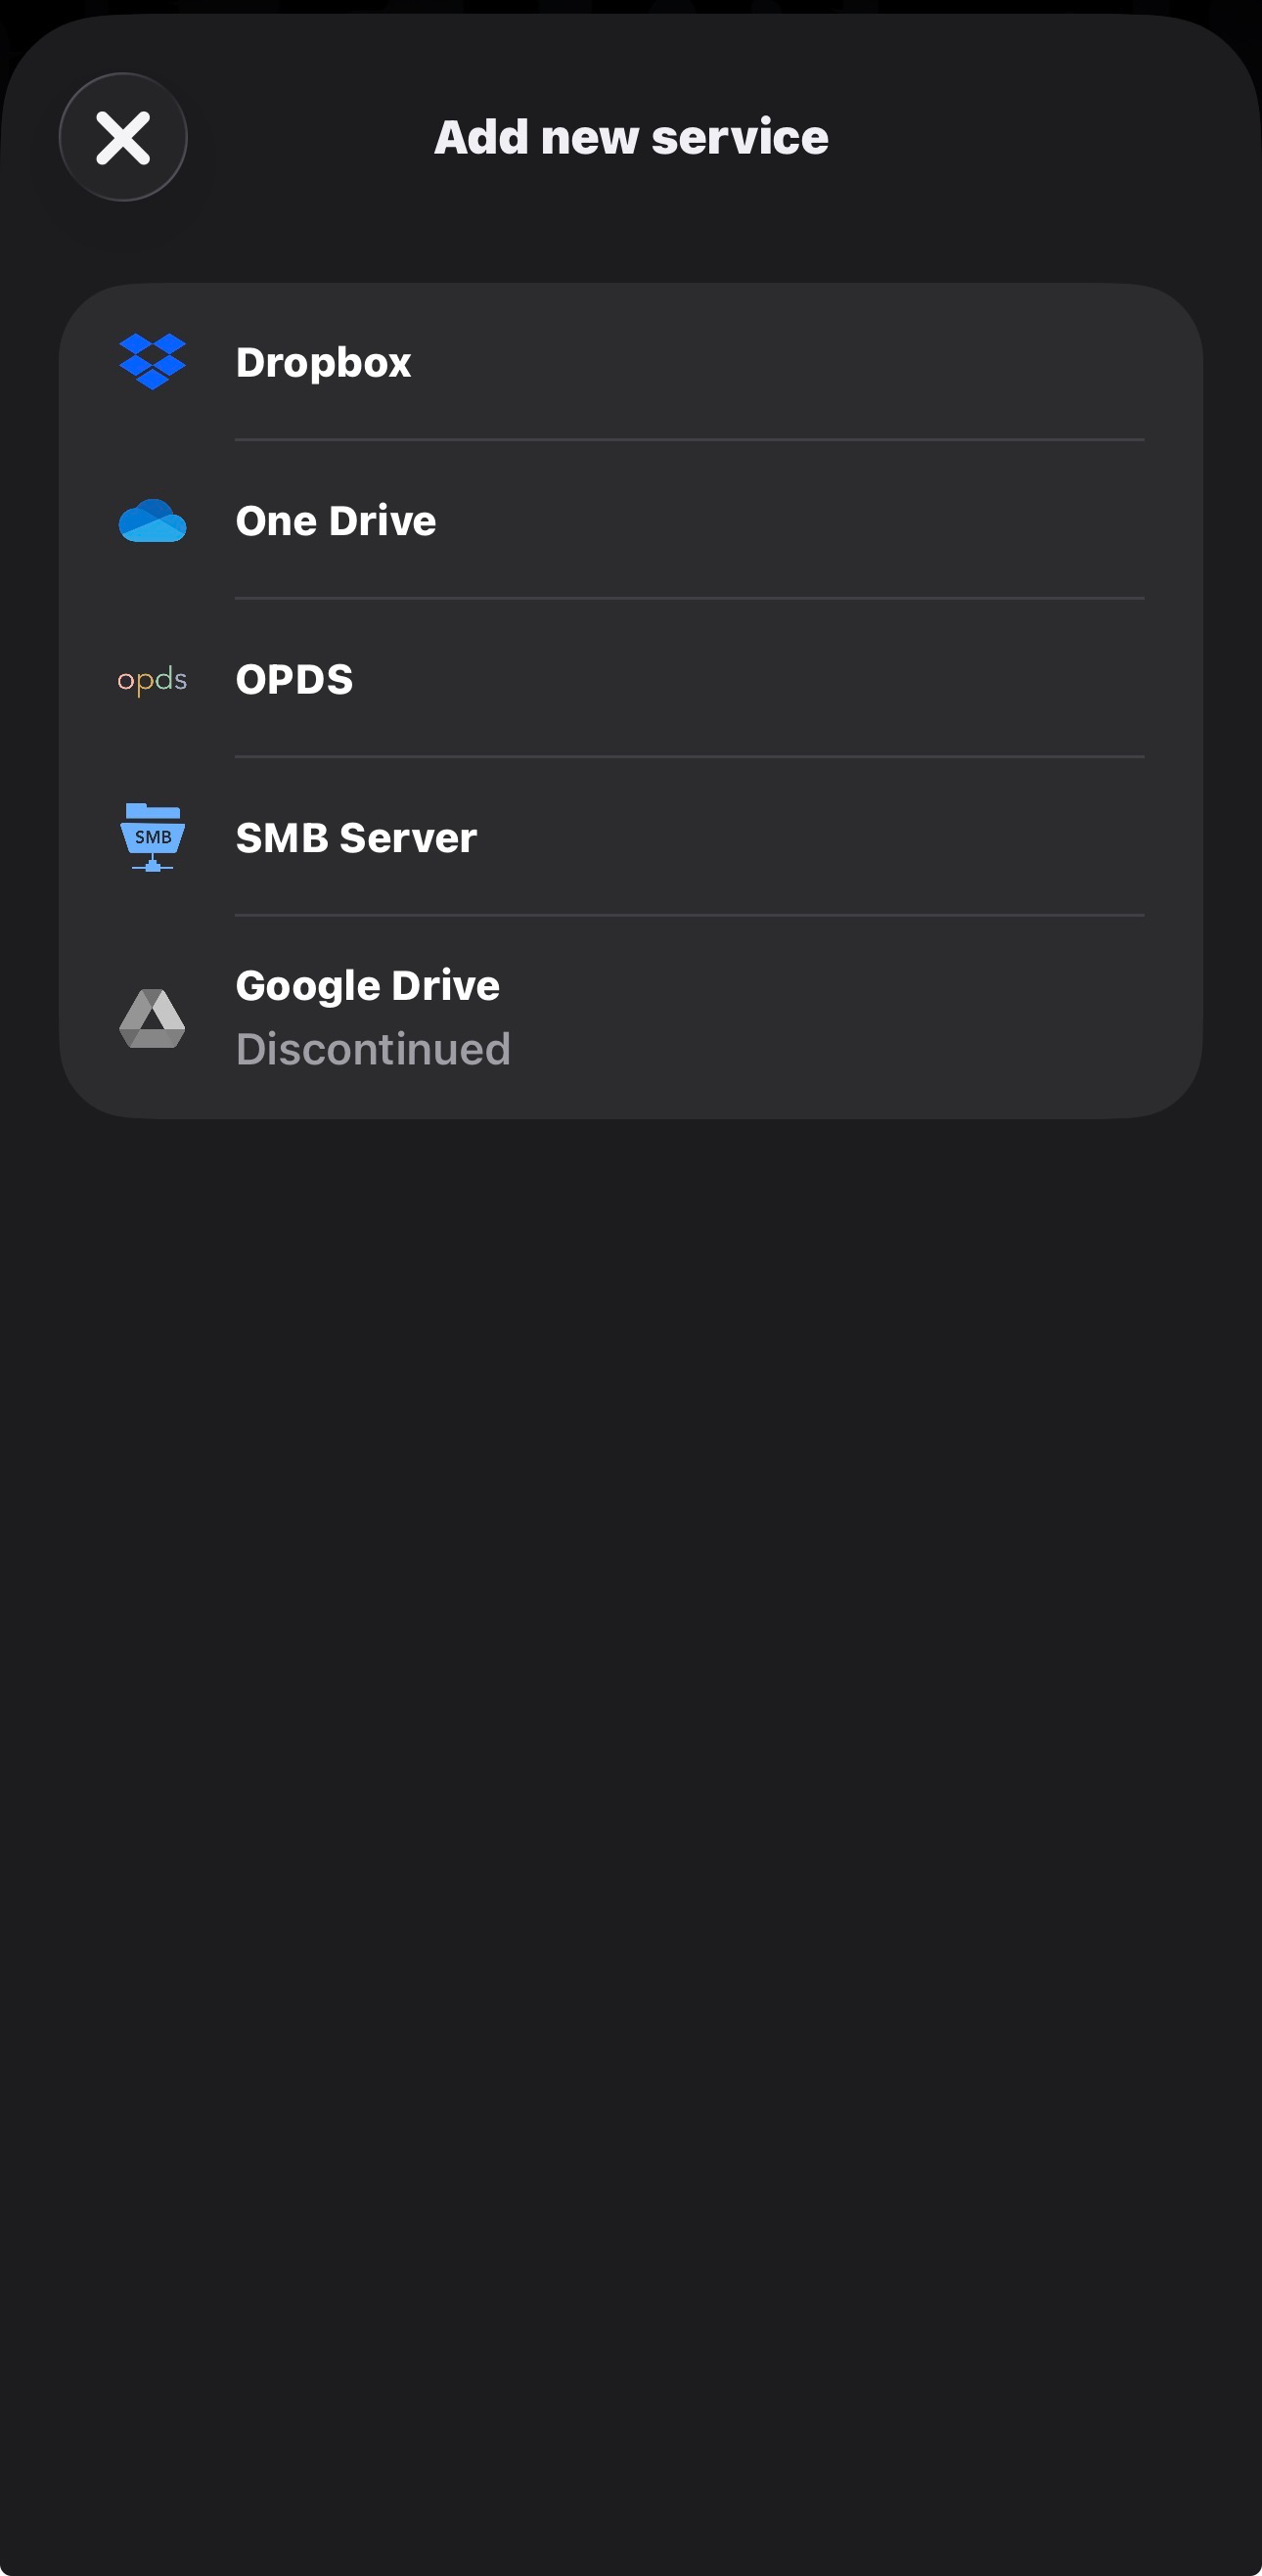
- Select OPDS (Requires a subscription).
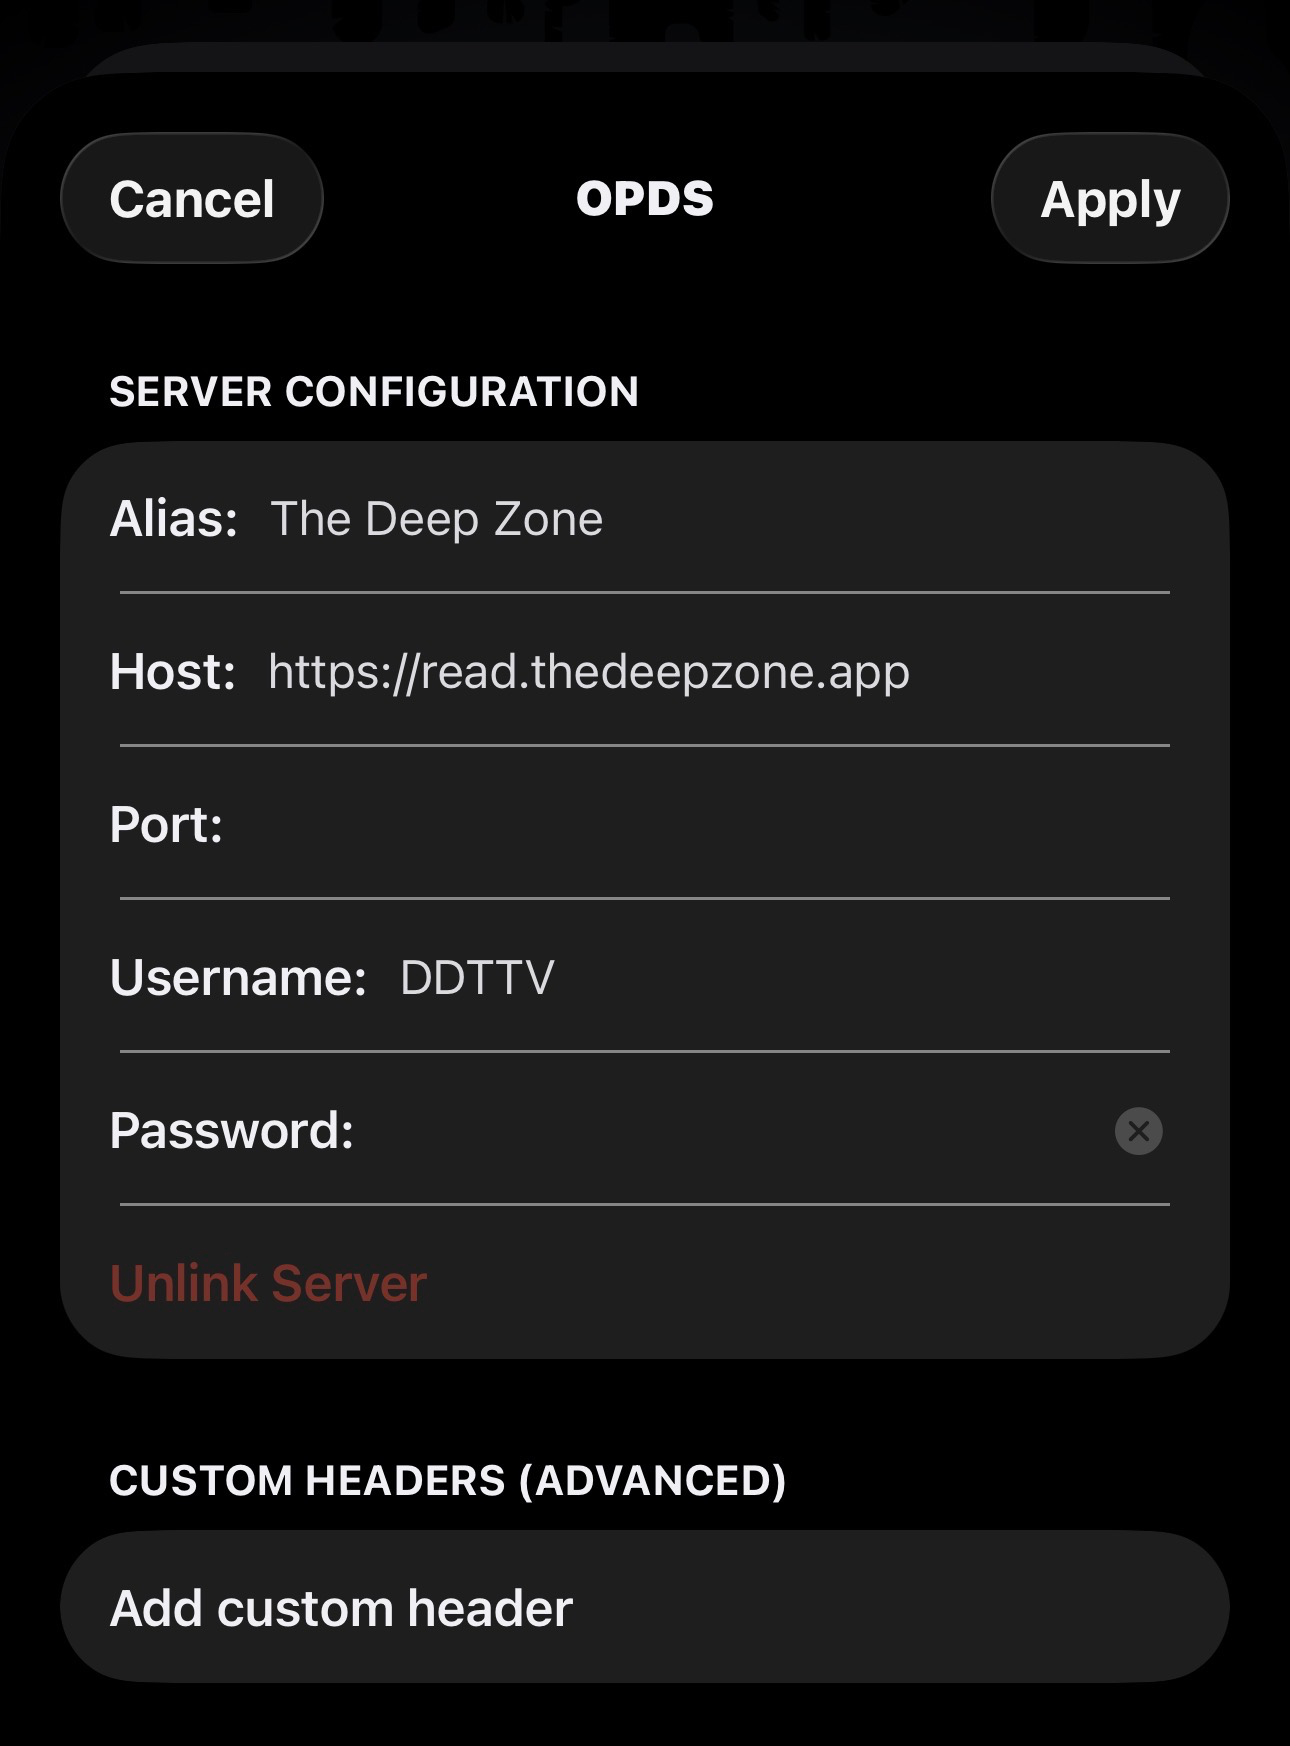
- For the OPDS URL / Host, enter:
https://read.thedeepzone.app
- Enter your Username and Password.
- If you don’t have credentials yet, create your Deep Zone account first, then come back here.
- Tap Continue / Next to finish linking.
Verify It Worked
If setup is correct, you’ll land in the Panels library UI and your Komga content will be browseable. These screens show what “success” looks like.
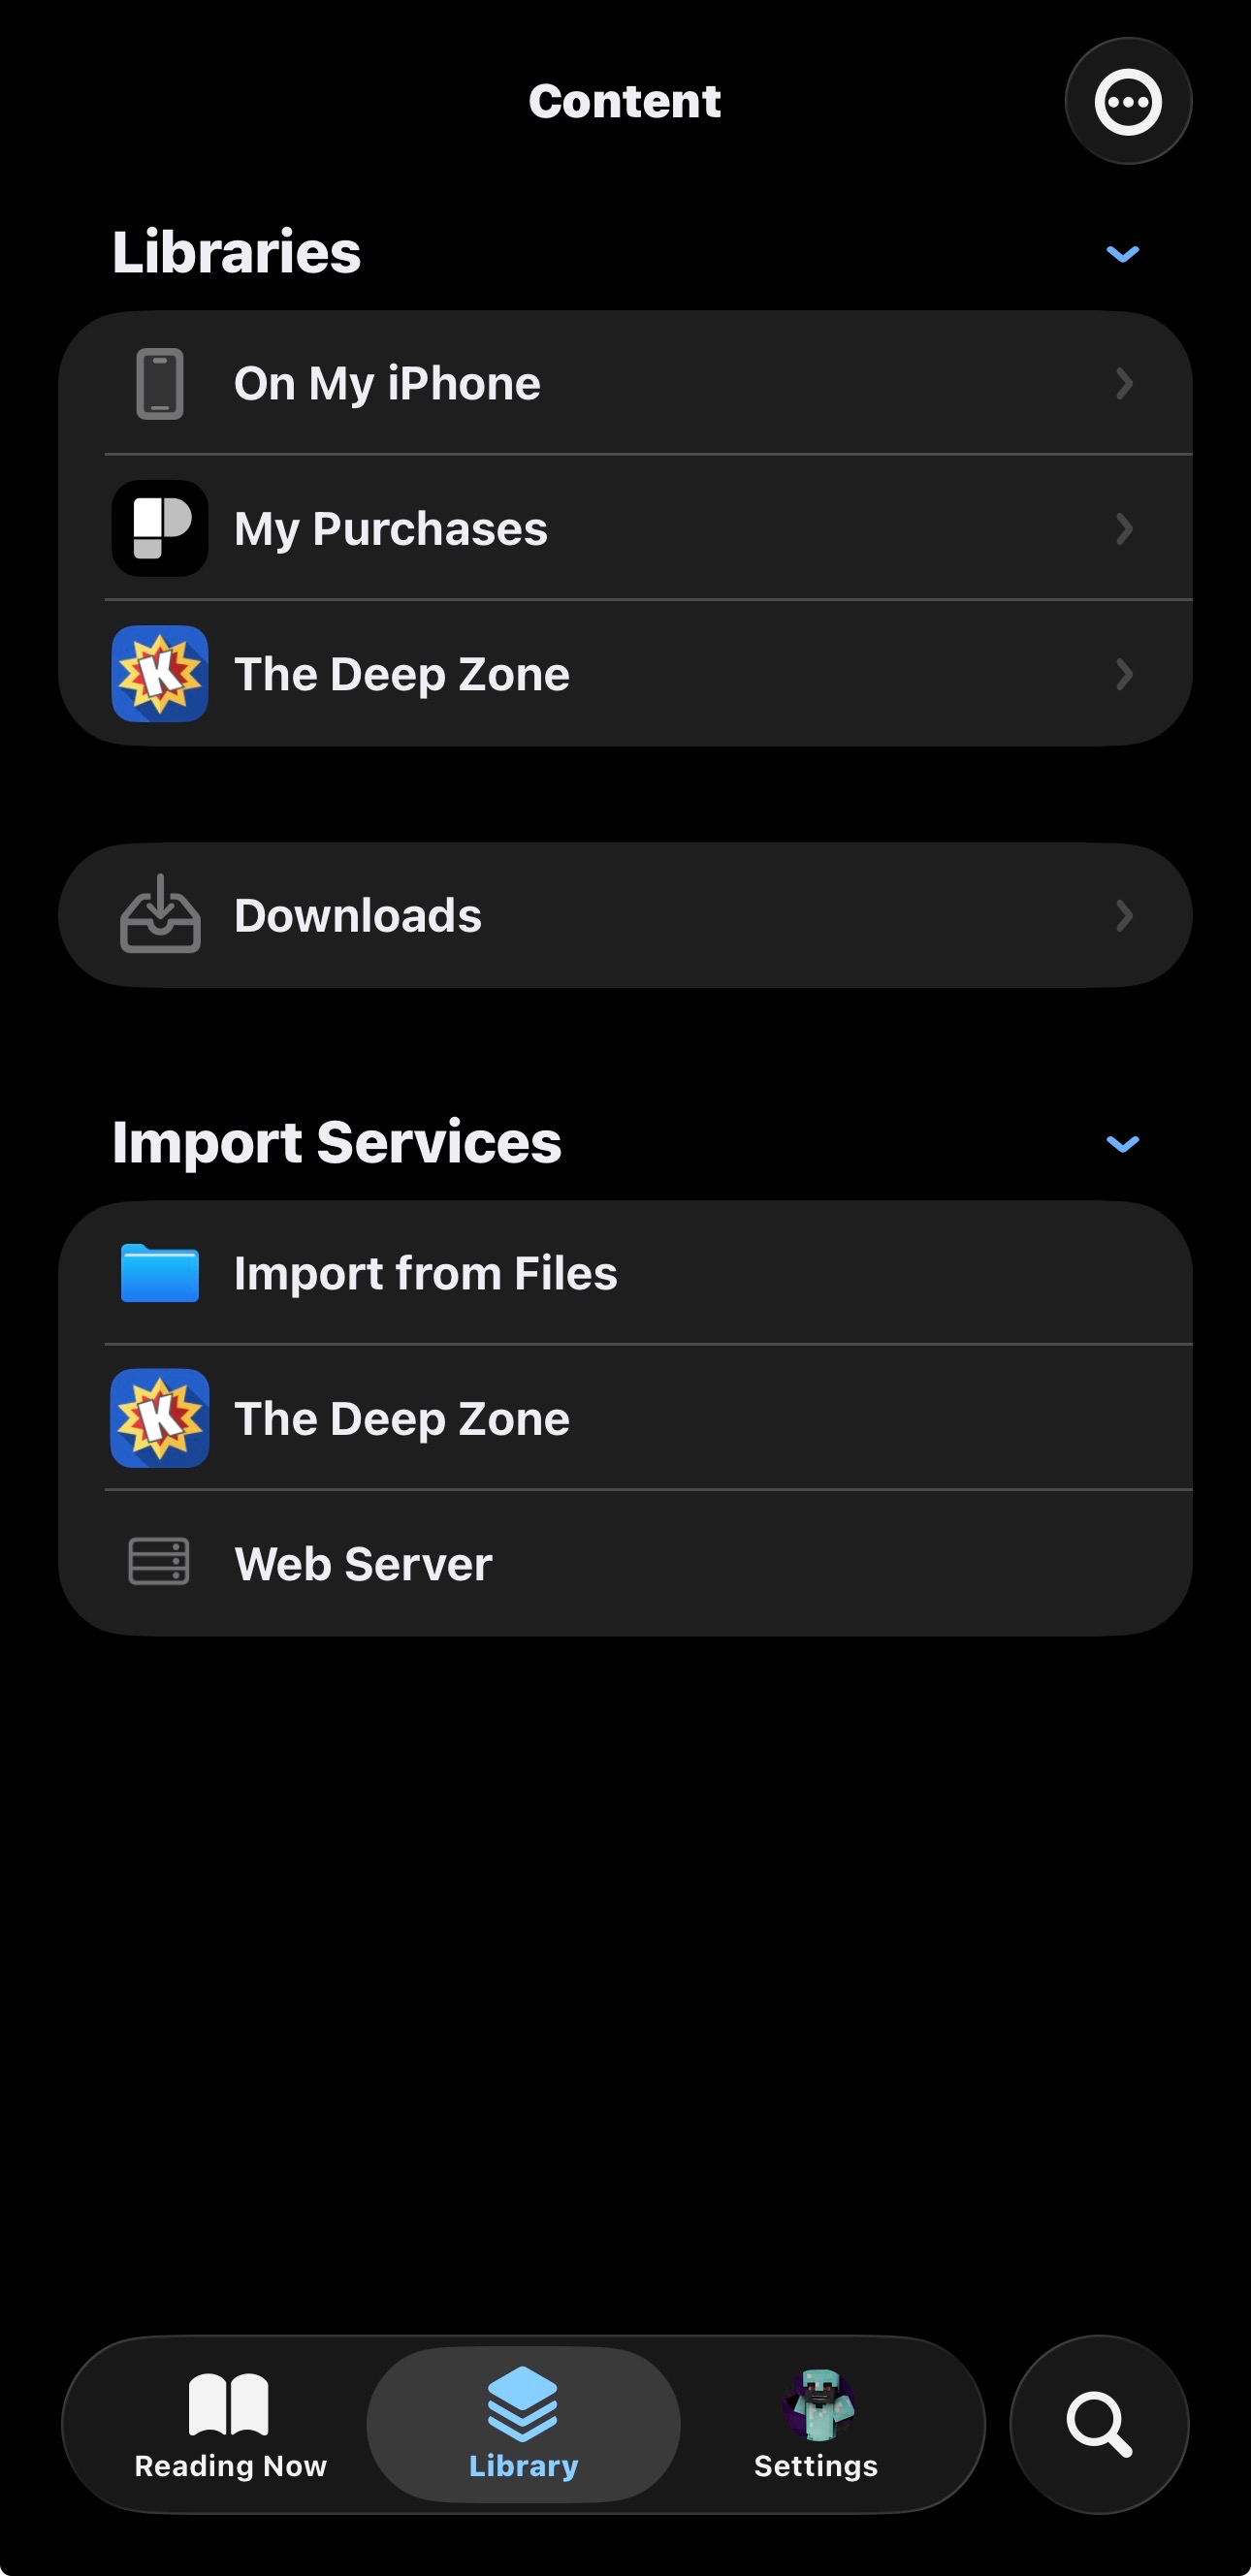

If you can browse series and open a book without errors, you’re fully connected.
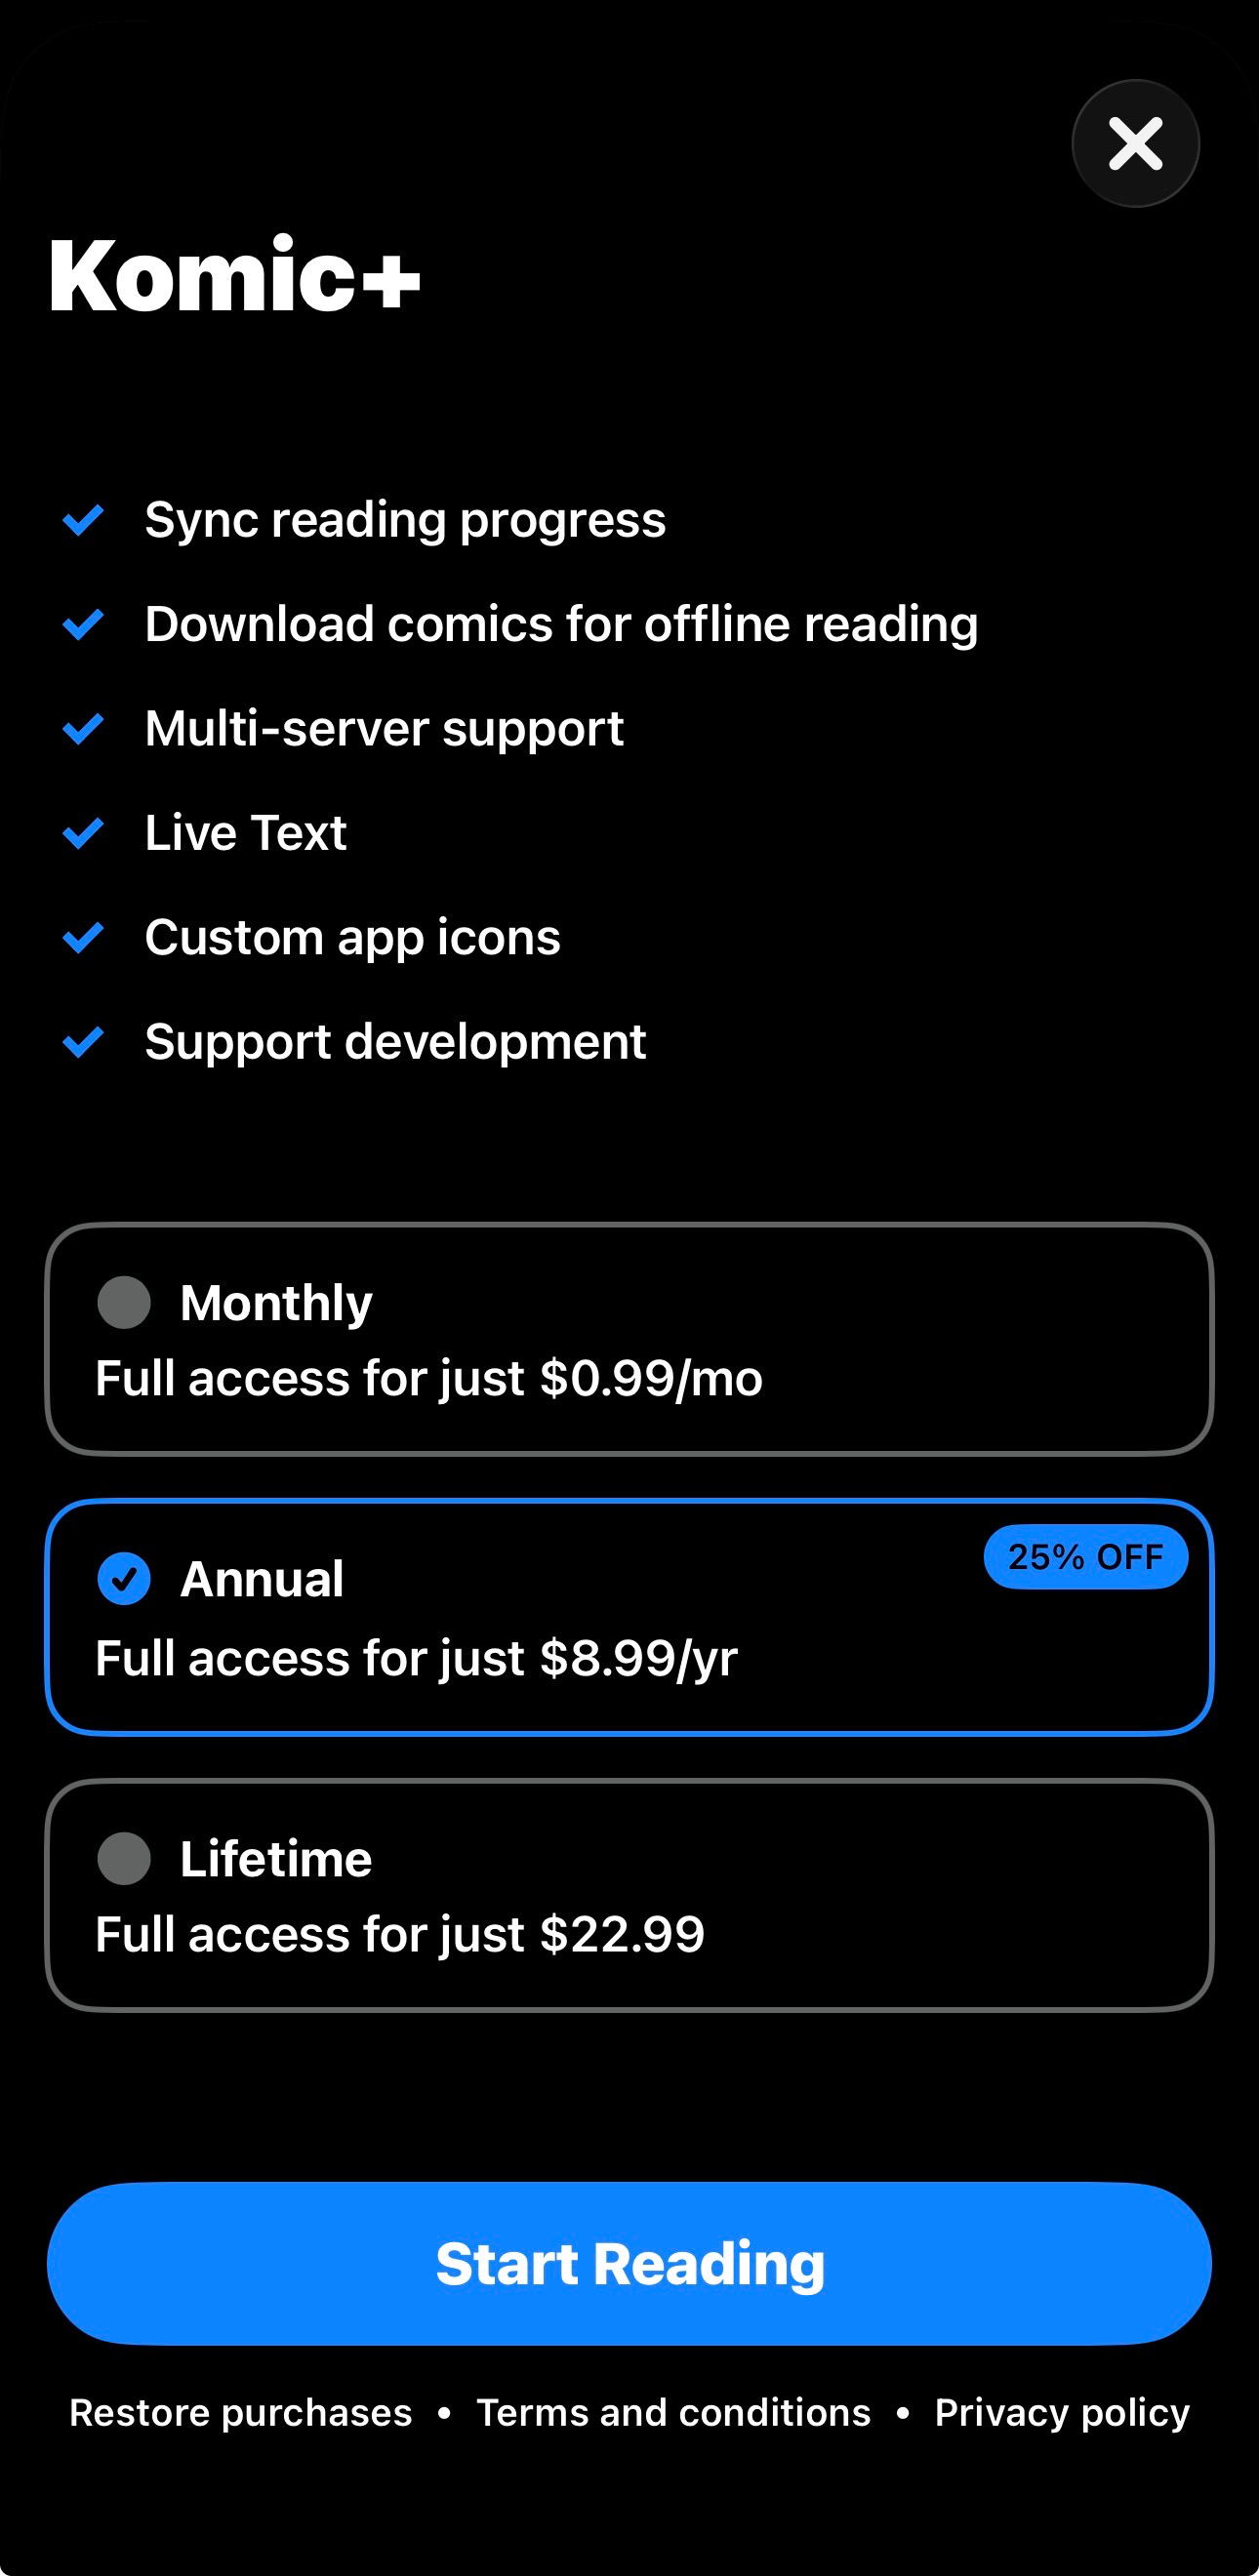
Komic (iOS)
Another iOS client option for Komga. Clean, simple, gets the job done.
Komic has the second best UI next to Paperback. It does have good features and is far easier to setup. However, to access all features, you may want the Lifetime license for $20. Unlike Panels, it is true lifetime.
Connect to the Server
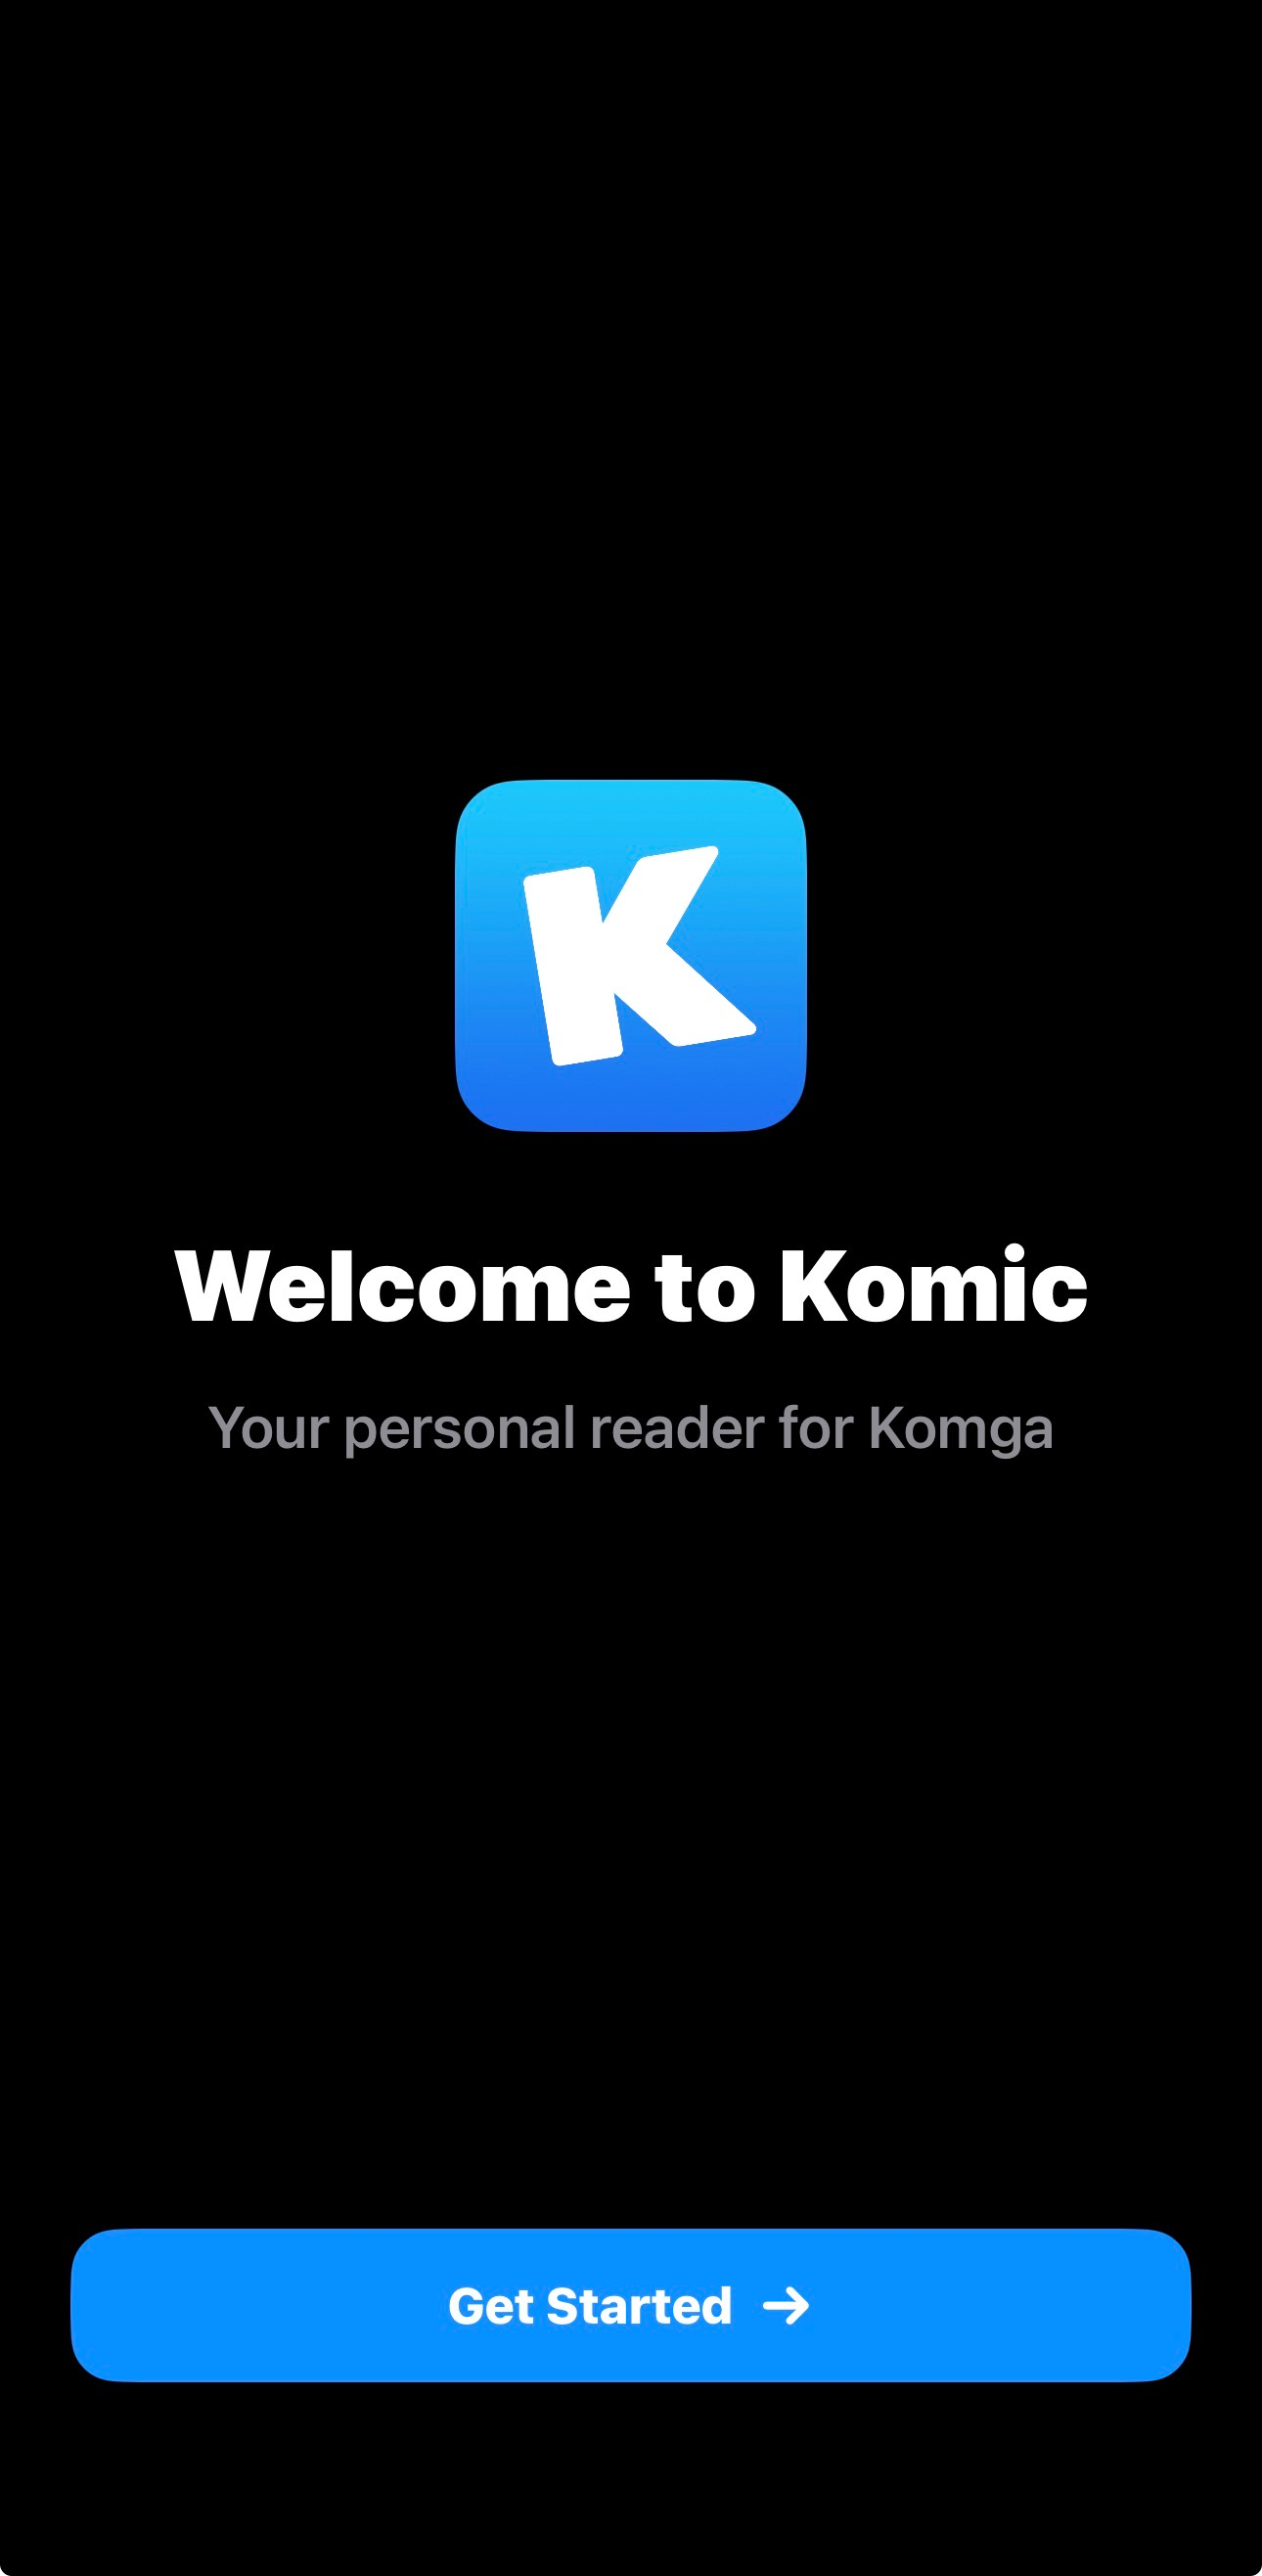
- Open Komic and tap Get Started.
- When asked for your server, use:
https://read.thedeepzone.app - Sign in with your Komga Username and Password.
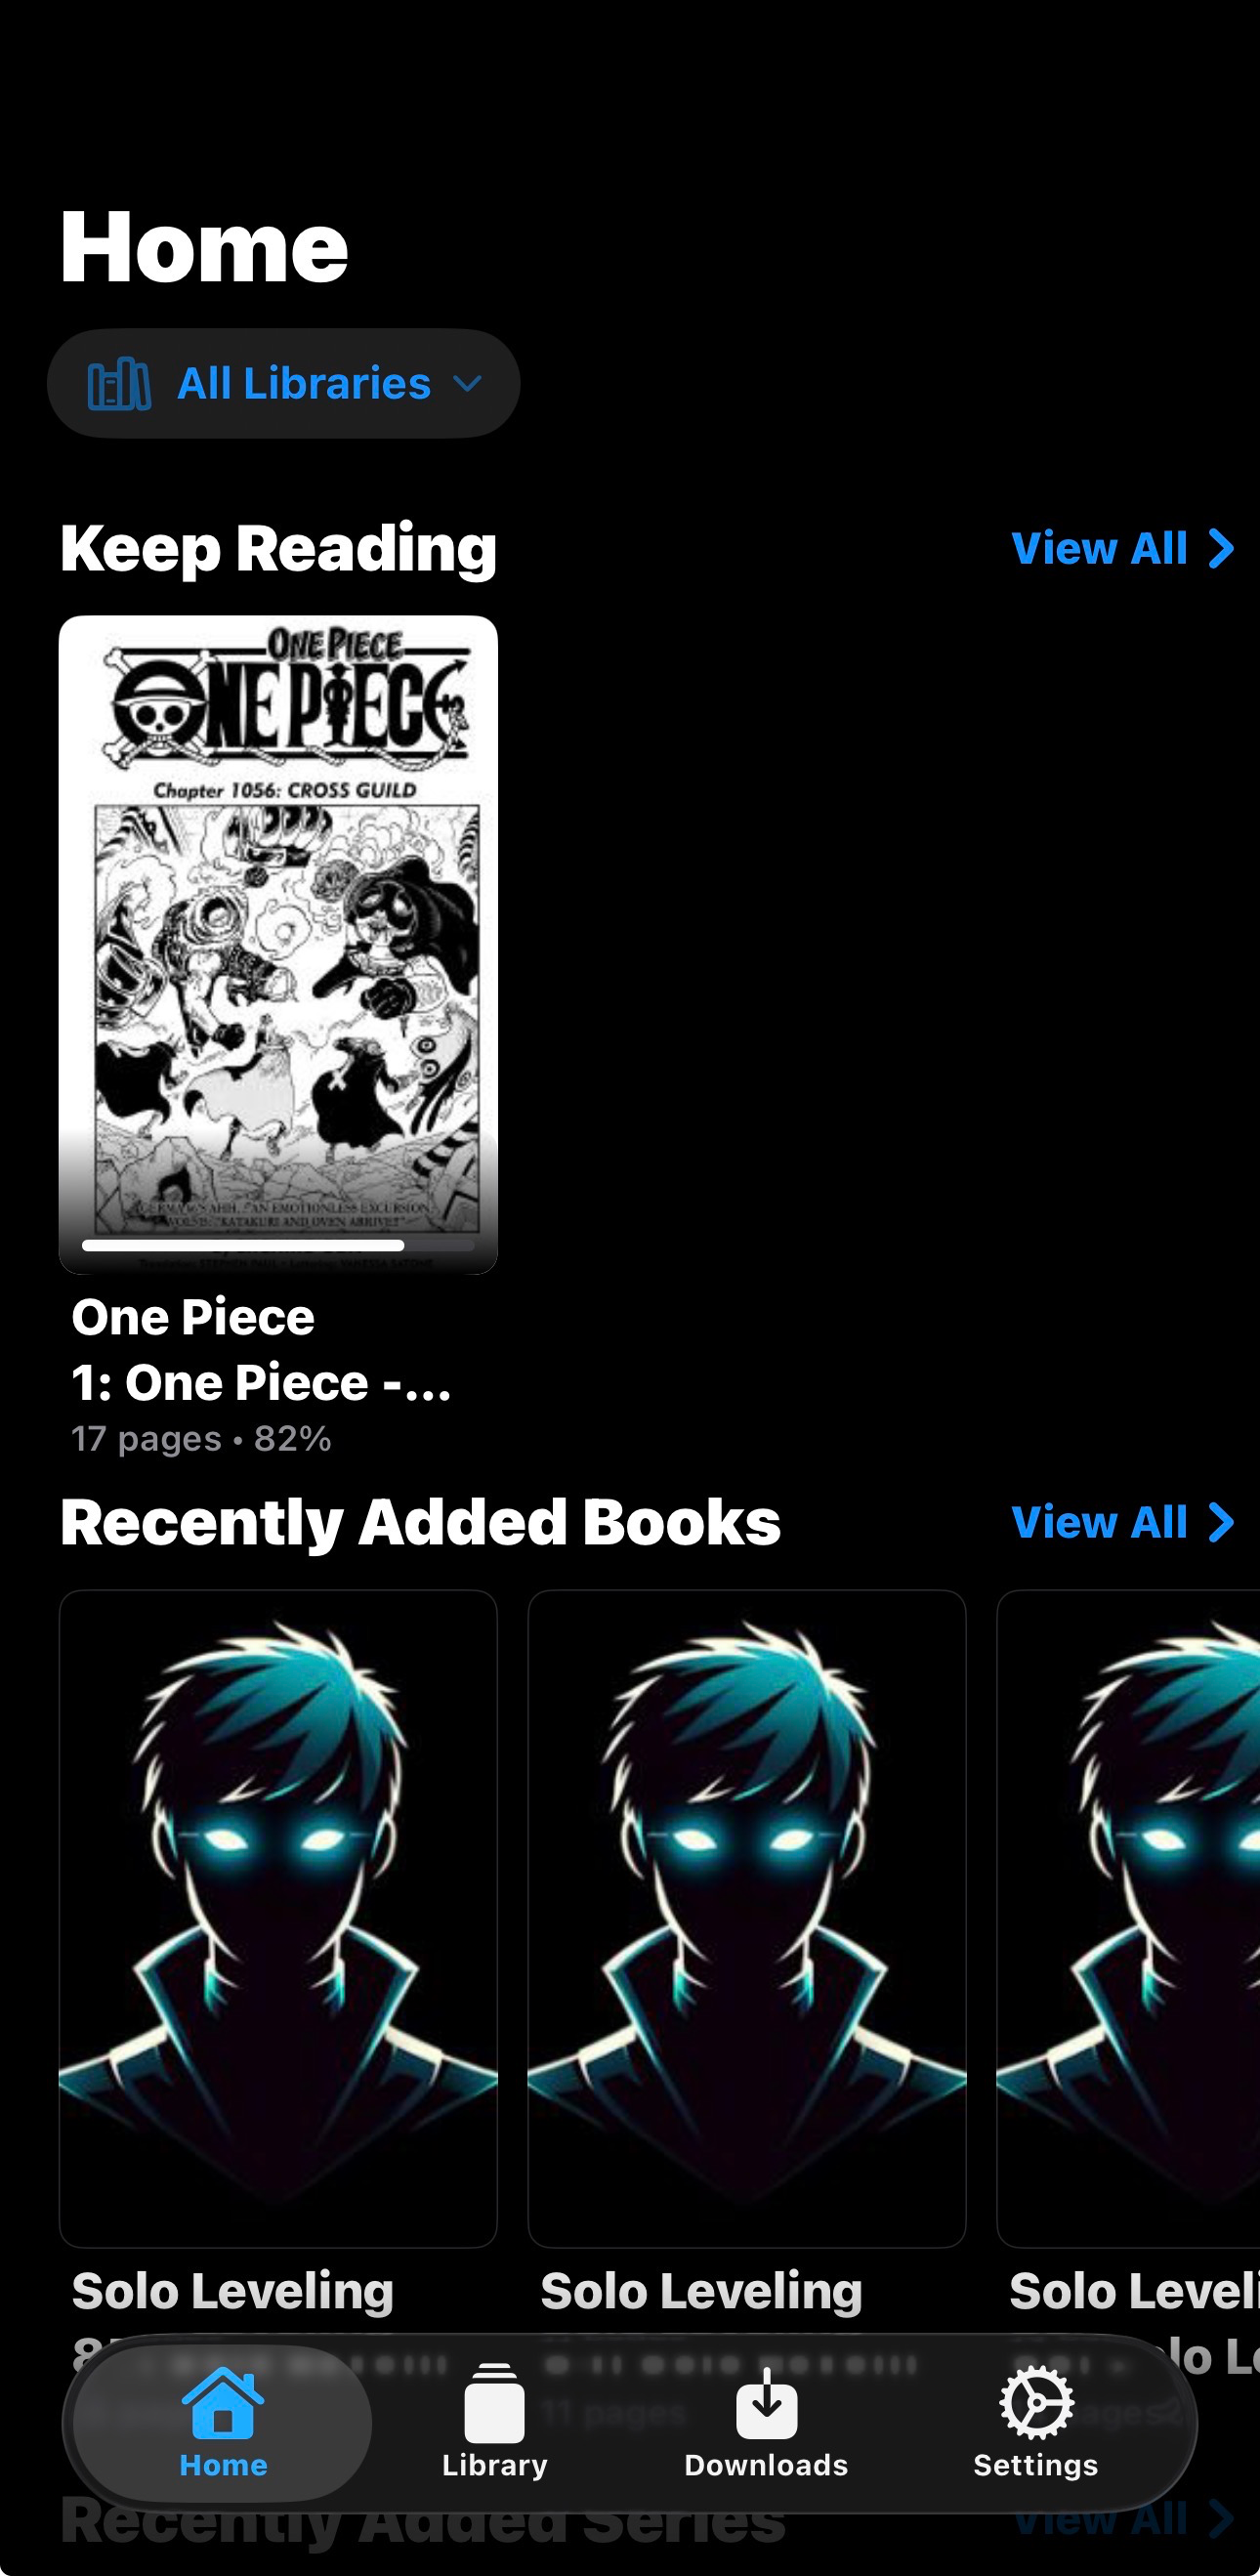
Once you see your Home screen and library tiles, you’re connected.
Note: Komic may offer optional premium features. The core “connect and read” flow works without turning this into a subscription saga.
Setup Complete 📚
- Your Komga account is created and ready.
- You’ve connected your reader (or used the web app) at
https://read.thedeepzone.app. - Optional: Paperback can sync read progress back to Komga via the tracker setup.